
Today, I’m going to show you a powerful technique for elevating your guitars and your guitar building process to higher levels of quality and impact.
It’s the same technique I have been using for many years to unlock the true potential of my guitars, stay inspired, and grow as a luthier and artist.
It is the art of infusing your guitar with STORY.
It is a shift away from building a fancy box with strings into a new and deeply rewarding commitment to carefully and thoughtfully creating a unique work of art that conveys your message, emotion, or story through every detail.
The guitar is your canvas, and this simple technique will help you use it to its fullest potential, inspiring and touching the hearts and lives of anyone who sees, hears, or plays it.
Let’s begin by looking at a guitar I completed last fall as our example and walk through each step I used to design and build it using this simple yet powerful technique.
1 – Finding Your Story (& How I found Mine)
Finding your story or your message should be fun.
Don’t pressure yourself too much or get too serious about it, just look for that flash of inspiration or spark of joy.
This is creative PLAY, not work.
Sometimes, that spark might be triggered by a piece of wood, an inlay material, a car, a feeling, a wish, or a prayer for the person who will own the finished guitar.
Let’s look at the process I used to design and build a 17″ Acoustic Archtop that I completed recently, called; “The Golden Hour.”
The idea seed for this guitar was sown way back in 2012 when I began The Art Of Lutherie Website.
I had just begun creating photos and videos for my articles, guides, and for my online guitar-making courses. To do that well, I had to start learning about photography, videography, and lighting.
One of the things I learned in that process was that the most beautiful light of the day is during the magical moments, about an hour before the sun goes down.
This is known as the “Golden Hour.”
I’ve always loved that time of day anyway, but learning about it gave me new insights about why it feels so special.
It’s the most beautiful hour of the day for photography, as the sun sets and casts its warm golden light, making everything look more beautiful.
Golden Hour can also represent the hours of the day you love the most.
It’s when you are in the flow, feeling a similar warm golden glow, but on the inside. It’s when we step out of time for a moment while the rest of the world keeps rushing by. I associate it with a deep sense of peace, fulfillment, and healing.
That is what the “Golden Hour” means to me.
As I pondered this new guitar design, I knew this was the STORY or the feeling I wanted to communicate through this guitar.
It embodied the essence of my vision for what the future owner of this guitar will experience when they settle in to play it every day. It would be a guitar that would exude that warm golden light in sound, vision, and voice.
The next challenge was how to make this vision a reality.
2 – Infusing The Design
As you consider this step, it’s important to remember that this is YOUR story, and you can express it in YOUR style.
There is no wrong way to do it.
Take your time with this step.
Each story is different; some need more specific symbols or objects to convey their message, while others can be expressed in more abstract ways.
In the case of my Golden Hour guitar, I had some technical specs I was incorporating to give it a powerful and versatile acoustic voice and a comfortable and easy-to-play neck.
No room to go into those details here, but you can find every step, technique, tool, and subtle nuance in the following resources:
- How to carve the perfect guitar neck here
- How to fine tune and shape the guitar’s voice here
- More on how I do buttery smooth fretwork here and here
I decided to take a very understated approach for this guitar and create a design that would communicate the message on a deeper and possibly even subconscious level.
I knew I needed a golden theme, but more than that, I needed a warm glow and not just a gaudy explosion of gold everything.
Here’s how I designed it and why
The Woods
")
First, I chose woods that would help create the warmth of sound I needed and also contribute to the visual golden glow and warm feeling.
- Top: Master Grade Curly Bear Lutz Spruce
- Back, Sides, & Neck: Figured Fallen Giant Figured Mahogany
I knew these woods would light up under a finish and be my foundation for the design visually and sonically. Next, I began looking for subtle details to tastefully infuse the golden glow in other parts of the design.
Inlay
")
For the inlay, I did my signature falling leaf because the graceful cascade of leaves down the neck already evokes a special feeling that seemed to fit.
- Fingerboard Inlay: Hand-cut Gold MOP Falling Leaf
- Headstock Inlay: White MOP logo
I used gold mother of pearl and chose pieces with variations of gold to white to give it more interest, flash, and the glow I’m after without overdoing it.
Binding & Purfling
")
I chose darker Macassar ebony bindings with subtle golden streaks. I felt that this would frame the golden glow of the top and back in a way that would enhance and enrich them through contrast.
- Binding: Macassar Ebony with Maple purfling on the body, fingerboard, Headstock, side sound port, F-holes, tailpiece, and pickguard.
The almost white Maple purfling (& White MOP logo and side dots) were important so that they would turn gold when I applied my golden Shellac varnish finish.
(More on why I use the white elements under the finish in this video here)
Tailpiece, Bridge, & Pick Guard

I also added brass tubing, which I inlaid into the tailpiece for a subtle flash of gold and continuity with the other components.
Other appointments
")
- Tuners: Gold Gotoh 510 delta tuners
- Bridge Adjustment Wheels: Gold
- Frets: Gold EVO
- Side Dots: White MOP
- Strings: 24 Karat Gold Optima Round-Wound
For the final touch, I used 24-karat gold strings from Optima.
The real gold strings looked and sounded fantastic and worked well with the gold fret wire and were the final chapter to complete the Golden Hour story.
Finish
")
For the finish, I made a custom blended and decolorized shellac. To create the unique golden fiery glow or Chatoyance, I used the process of mixing and decolorizing shellac that I teach in my course The Art Of French Polishing.
- Finish: Custom blended and colorized hand-rubbed shellac varnish. I applied the finish using my French polishing technique (also shown in the course).
Getting the perfect golden glow to the shellac took a lot of time, but it was the key to unifying the design, tinting the white elements such as the white MOP logo and the white maple purfling, and bringing it all to life.
3 – Infusing The Building Process
The guitar’s design is very important, but I believe that HOW we build the guitar is equally important.
During the building process, we are infusing the guitar in a different and powerful way that determines how it will emotionally impact people who experience it when it is completed.
(And don’t forget, you are an important person too, make sure your building produces helps you grow and learn and heal and find peace.)
This might sound a little “out there,” but I view it like music.
With music, each note is a container that can be filled with love, hate, peace, or whatever you are feeling when you create it. That message is sent directly to the heart of the listener.
I have found that the guitar, just like the music notes it will tone day create, is also a container.
What to fill it up with is up to us.
I want it to be filled with the same message and story as the other elements of the guitar, to bring another dimension of harmony and power to its voice and impact.
To do this, I committed to only working on it when I felt that “golden glow,” and I was intentional about staying there as I worked, stopping if I fell out and began to feel anxious or fearful.
Progress was slower than normal, of course, but the depth of joy and refreshment I felt while building it was life-changing, and the resulting voice and feel of the guitar were everything I hoped they would be and more.
Final Thoughts
So now you have a detailed look behind the curtain of how I harness the power of story, emotion, and heart in the design and creation of my guitars and how you can do the same with yours.
By the way, this technique isn’t just for guitar building; you can use it for anything you create.
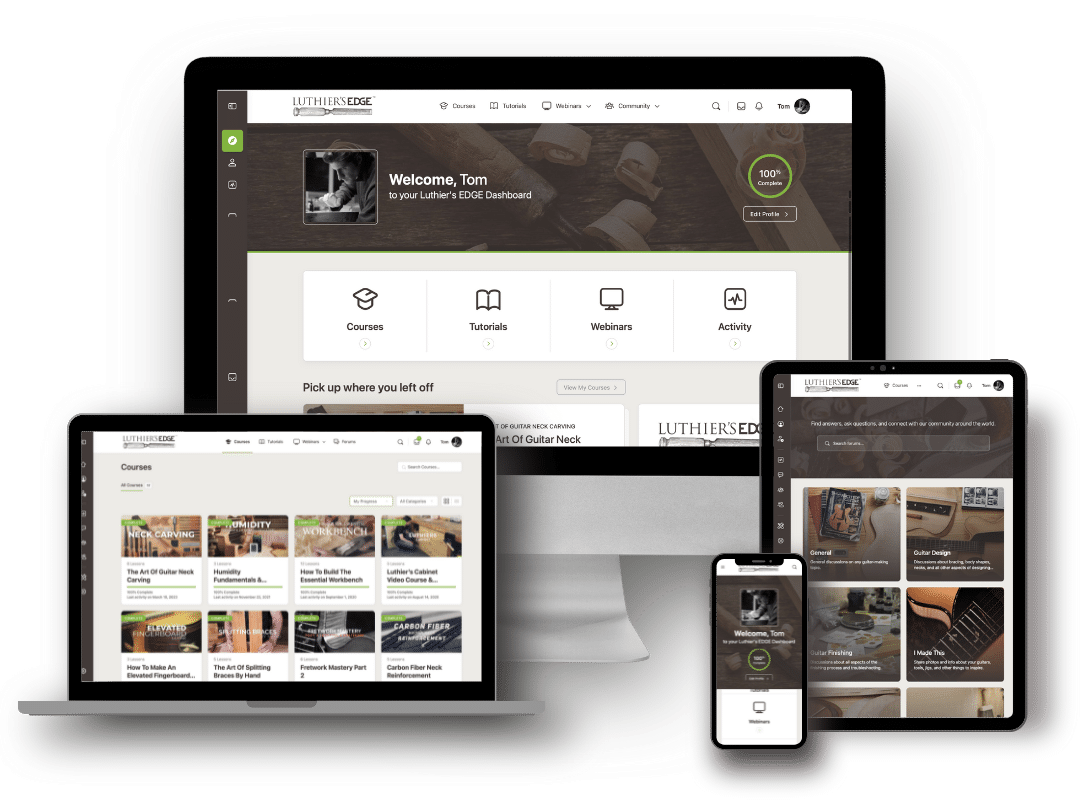
If you’d like some help building your first guitar or taking your current guitars to higher and more creative levels, check out the Luthier’s EDGE online luthier school, where I can personally help you.

