If you have seen a well-applied French polish shellac finish, then you may have experienced the clarity, depth and richness that synthetic finishes cannot duplicate, and more importantly, the unique, woody, open sound that it brings to a guitar’s voice. But when you’re starting out, the technique of French polishing can be difficult if you don’t have the proper instruction, or if you’re just going by trial and error like I was in the beginning. When I was first learning to French polish, I knew it was what I wanted for my guitars, but I struggled with applying it correctly.
I could not deliver a guitar with anything but a perfect finish, so I made up for my lack of French polishing knowledge and technique with a lot of persistence, sweat, tears and many, many hours of working on getting it just right and fixing my mistakes. Even though I was producing a very nice finish, I felt really stuck because of the difficulty and frustrations I was encountering when French polishing each guitar.
That is until one fateful day when I was invited by the famed French polishing master Eugene Clark to come to Washington and learn from him one-on-one. It was a life-changing time, and I will forever be grateful to Eugene for his help, guidance and friendship.
His influence literally transformed how I think about and build my guitars—not just the finishing, but all aspects of the design and the instrument itself. The French polishing technique I learned from Eugene is the basis of the method I will be talking about in this series and that I teach in my online French polishing course: The Art of French Polishing.
What Is French Polishing?
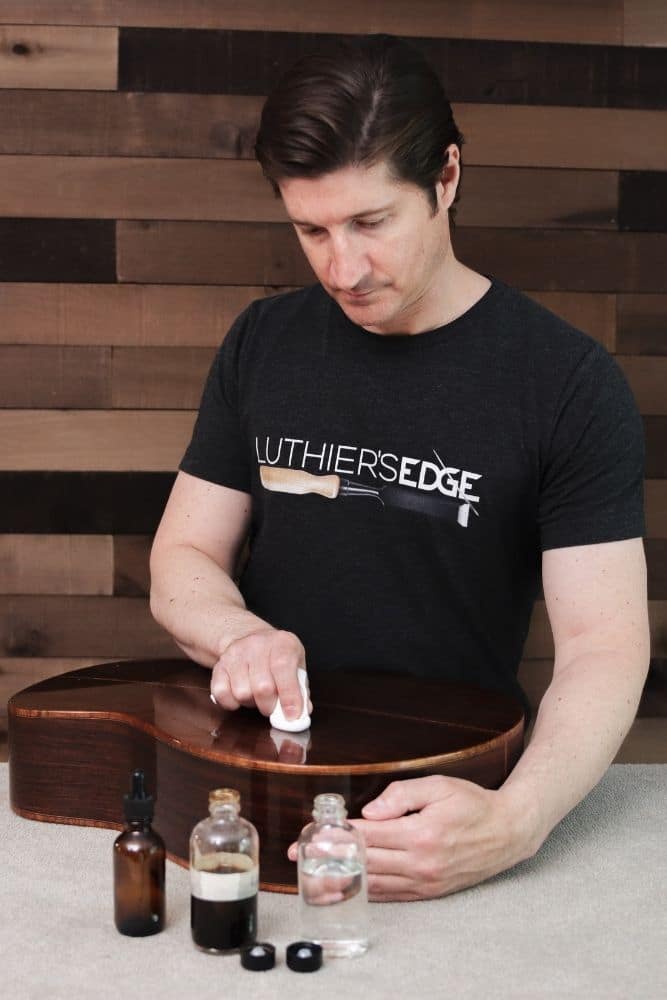
French polish or French polishing refers to the art of using what is known as a pad, rubber or muñeca constructed usually of cotton cloth wrapped around some type of core material to apply a finish to a wood surface by rubbing. So the term French polishing is actually referring to the physical act and technique of applying the finish, rather than to the type of finish itself.
The most traditional French polished wood surface is different from what we typically do on guitars today. According to my teacher Eugene Clark, the original craftsmen doing French polishing on furniture would simply fill the pores of the wood and leave only a slight coating of shellac on the surface of the wood.
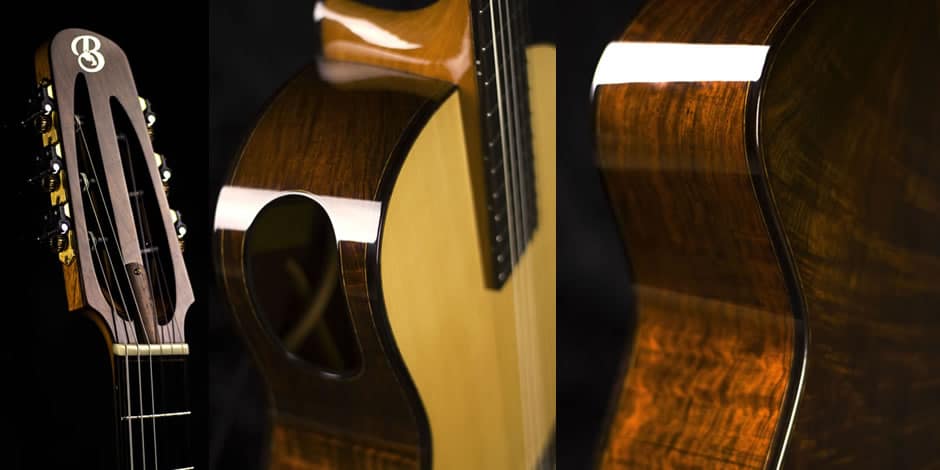
Today, professional French polishers will usually build the finish on top of the surface more, in order to give it a high-gloss look and to increase durability. However, even with a slightly heavier build, a French polish finish is usually far thinner than any synthetic type of sprayed or brushed finish, which is one reason it lets the voice of the guitar and the sound of the woods come through so clearly when the guitar is played.
A Very Brief History of French Polishing
The technique of French polishing with shellac resin was refined in France during the 18th century. It was considered the highest-quality wood finish for fine furniture and musical instruments such as pianos and guitars. With the introduction of faster and cheaper nitrocellulose spray technology starting around the 1930s, many factories abandoned the technique. Even though a shellac French polish finish is more labor-intensive and more delicate, it is considered a superior finish for guitars to this day. After years of testing different guitar finishes, it is still my preferred method of finishing my handmade guitars.
Materials for French Polish
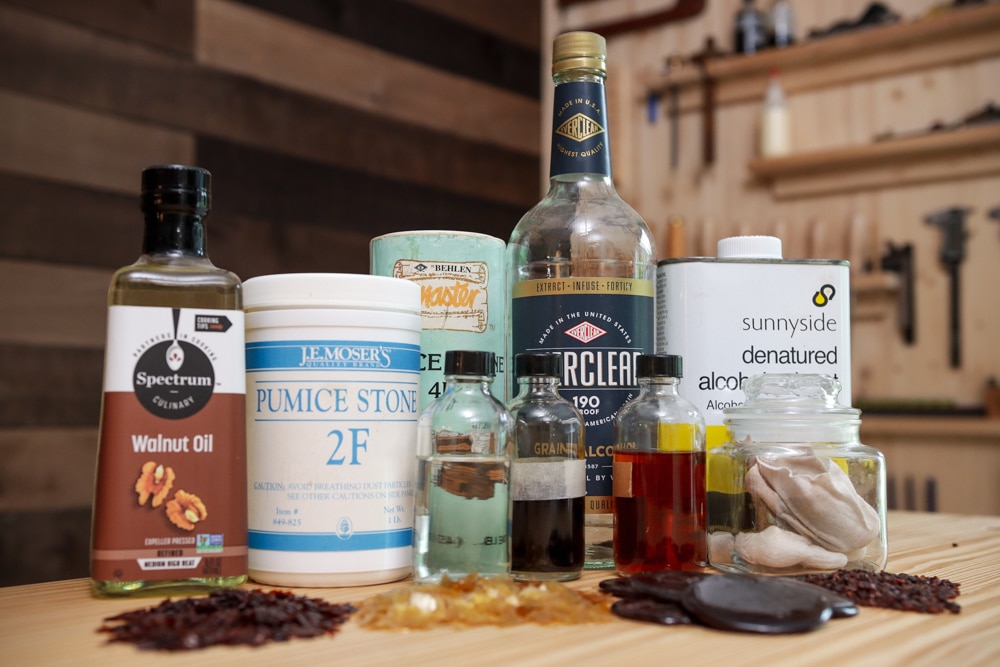
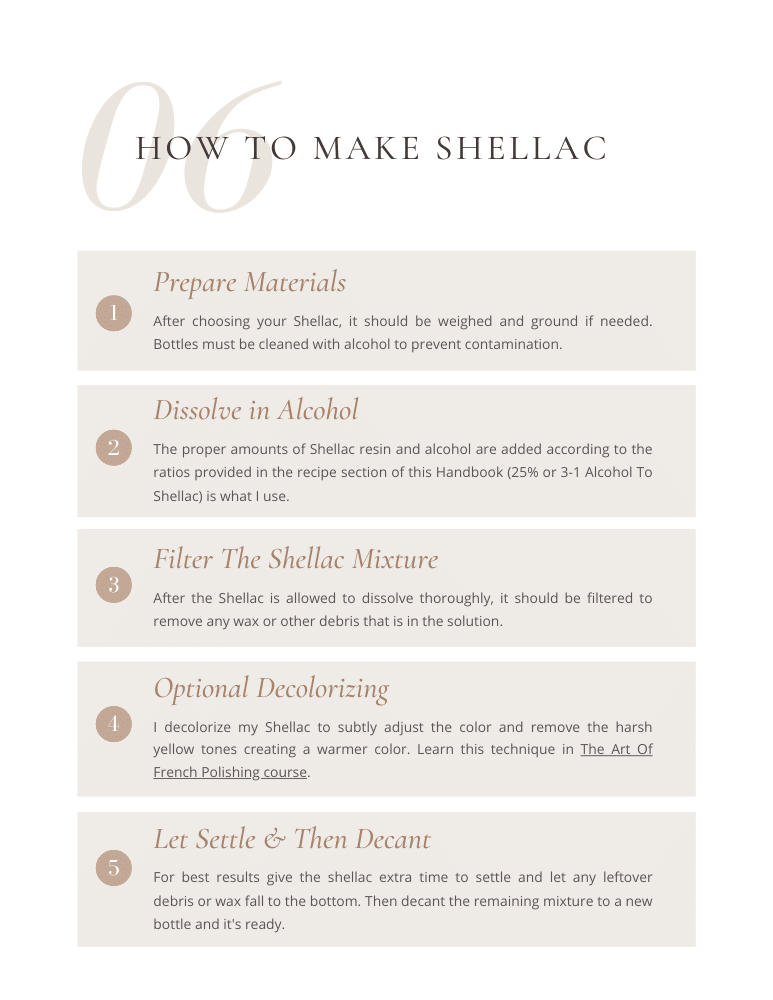
There are three main ingredients commonly used to make a shellac varnish for French polishing guitars: shellac resin, alcohol, and oil. In the sections below, we will be looking at each component and the properties and functions they serve in the French polishing system of application and the varnish formulation itself.
To apply this finish using the French Polishing technique you will also need a couple bottles I prefer a 4oz Boston round with a nice cap like these HERE, as well as some material to use for an application pad (usually cotton, linen or cheesecloth)
If you have read my book on guitar making, or if you are a member of the Luthier’s EDGE Online Guitar School, you may already know that just understanding the step-by-step directions isn’t enough—I want to know WHY. I need to understand how things work, and I am betting you’re like me in that regard if you’re reading this right now. So we’ll be talking about what materials are commonly used, of course, but, more importantly, we’ll be looking at why and what purpose each ingredient serves to make a better-looking and sounding finish for our guitars.
Free Download
The Shellac Handbook
Free Download
The Shellac Handbook
Your Information is 100% Secure And Will Never Be Shared With Anyone. You can unsubscribe at any time. Here’s a link to our privacy policy

What Is Shellac?
The most commonly used material to be applied with the French polishing technique is shellac. Shellac is a natural resin made by the Lac beetle when it feeds on the sap of several different types of trees in India and Southeast Asia.
The Lac beetle forms a shell in which it will lay eggs that are made of Lac. The process of harvesting and collecting Lac begins as the trees are infested with Lac beetles that build their shells on the branches of the tree, which are then scraped off with a hot knife and collected.

Types of Shellac for French Polishing
Sticklac
The rough material collected for the initial harvest is called sticklac because it contains a lot of sticks and dirt, dead bug bodies, etc. The sticklac is then refined in several ways. Among the refining methods, it can go to a factory for industrial processing in order to be purified into the thin shellac flakes that will be sold for various commercial and other uses.
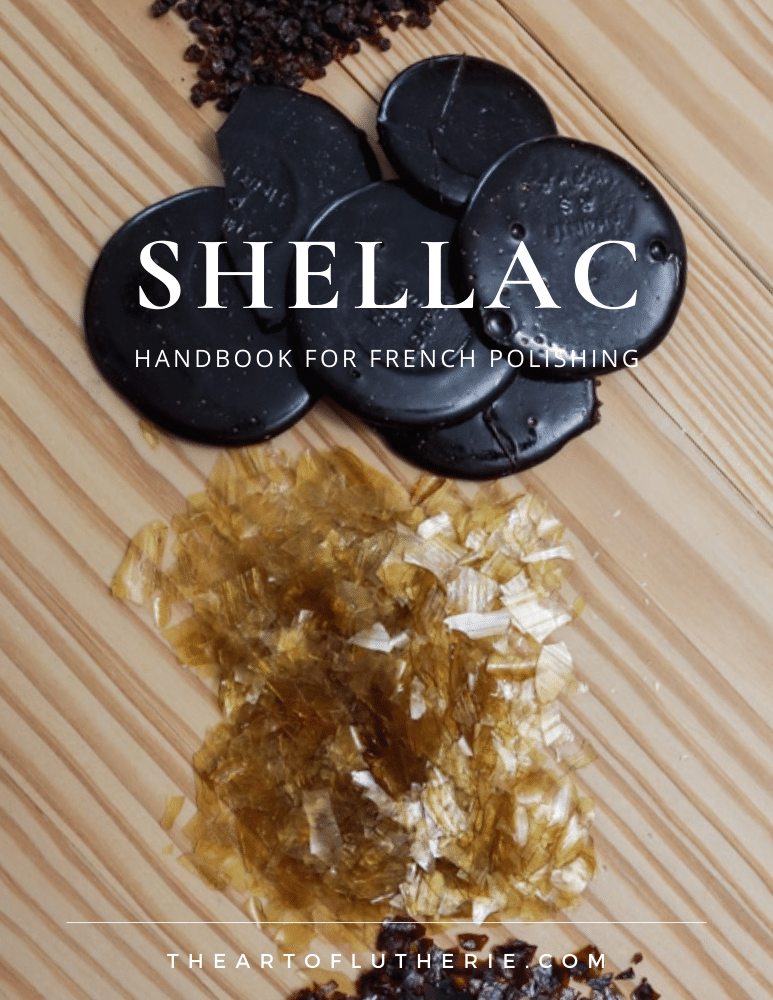
The sticklac can also be purified by hand by initially being roughly filtered into what we know as seedlac (see image below). As you might guess by the name, the seedlac form resembles tiny seeds of resin. There is still a good amount of wood chips and bugs in it at this stage, but it is usable for French polishing after being dissolved and filtered.

Button Shellac
The next stage in handmade shellac is to take the seedlac and fill long, cotton bags with it. Then the bags are held over a fire to be heated, and the hot shellac is squeezed through the fibers of the cloth bag, depositing onto the ground large drops of shellac that resemble buttons. I have read in other places that the buttons may also be made by scooping out the shellac onto a plate with a spatula and then reheating it again to smooth the surface. This type of shellac is known as “button shellac” or “button lac.”
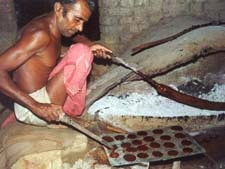
Button lac is my personal favorite type of shellac to use because it is in a very raw and untampered state. But most importantly, because it was heated more, it forms a tougher, more impact-resistant coating due to the resulting polymerization that occurs from the heating process.

Shellac Flakes
Using other hand methods, the shellac resin can also be dissolved in alcohol, filtered and poured out onto huge pans to dry, letting the solvent escape. It can even be stretched out into a thin sheet while still hot, which is common in handmade shellac production. Once the thin sheet of shellac resin has hardened, it can be shattered and broken into the shellac flakes we commonly see when purchasing flake shellac.
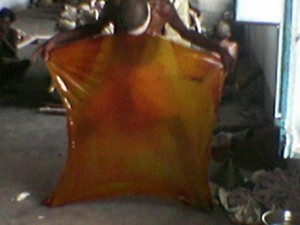
Today, most commonly the shellac flakes are commercially produced in factories using various methods for dissolving and filtering, some of which compromise the gloss, durability and purity of the final flake shellac. Therefore, I try not to use any commercially produced shellac flakes, if possible.

Shellac Colors
The stunning and unique colors of different shellacs for French polish are a result of several factors. One of the contributing factors in producing the many beautiful shades of shellac is the season in which the shellac was harvested. For example, summer shellac, known as Bysakhi, will be a very dark and intense color, while the winter harvest, called Kusmi, will be more caramel-colored or golden-toned shellac, and much lighter.

It is very sad to me that with the great variety of shellacs available, I rarely see people using the darker shades. I feel that for the guitar maker, it is essential to use the darker colors of shellac. Using at least some color will unify the instrument and help it to look like a complete object, rather than a bunch of parts put together.
It is not that hard to use darker colors, once you get your technique mastered to the point that you are applying a very even coat of finish on the guitar. However, some guidelines should be followed to ensure that your guitar will look as beautiful as possible with a darker-colored shellac finish.
Types of Alcohol for French Polish
Now that we have talked a bit about the shellac resin and what it is, we can talk about the other main component of our French polish finish: alcohol. There are several different types of alcohol that can be used for formulating French polish with shellac, and each type of alcohol will produce subtly different results in the French polish finish. Many people choose the type of alcohol they use for French polishing based on which one is the cheapest, but what they don’t realize is that to do so might be compromising the look of their finish (and introducing possible health concerns). Let me explain why…
Effects of Alcohol: Shellac Color & Safety
Each type of alcohol, and even different brands of the same type of alcohol, will have different effects on the shellac resin.
The most striking difference is in color. If you start with a nice Kusmi button lac and dissolve it in denatured alcohol, you will get a very yellow and weak-looking color that lacks fire.
However, if you mix the same Kusmi button shellac with some pure ethanol like Everclear, the color will be very warm and full of fire, and show wonderful red hues. I also find that using pure ethanol will give you much better chances of getting a dichroic effect in your finish, which is what I’m after.
The dichroism present in some shellacs provides the finish with a fire similar to a natural diamond or gemstone. It makes any synthetic finish look dead and unnatural when compared side by side. Another term commonly used to describe this unique and beautiful characteristic is Chatoyancy.
One last thing to mention about the different types of alcohol for French polish finishes is their potential impact on your health. Pure ethanol is harder to get and more expensive, but it also does not contain the poisonous “ketones” added to denatured alcohols (https://en.wikipedia.org/wiki/Denatured_alcohol). Those chemicals are added to make the alcohol undrinkable and thus exempt from alcohol regulations and taxes. Even though we aren’t drinking the stuff, it still can present potential health concerns from long-term exposure.

Many denatured alcohols, also known as methylated spirits, usually contain methanol or wood alcohol, which can cause blindness and other health problems. Again, we aren’t drinking it, but exposure in working with even small amounts can add up over time.
Some French polishers use isopropyl alcohol to make shellac. However, in my experience and after helping hundreds of my students master the art of French polishing in my Luthier’s EDGE French Polishing course, it doesn’t always dissolve the shellac flakes very well, can produce mixed results in the final shellac finish, and—in my personal opinion—smells really bad too. So isopropyl alcohol is not a type of alcohol I recommend for shellac French polish finishes.
With the health concerns and other details mentioned above in mind, and the fact that it gives me warmer colors, I only use pure ethanol (Everclear 190 proof) for my shellac French polish finishes.
Note: If denatured alcohol is the only alcohol you have available, it is OK to use it and can get great results. Here is what I recommend to help you get the best results possible from the denatured alcohol:
- Look up the material safety data sheets online to see the ingredients (Google the brand name + “MSDS”) and look for the brands that have the most ethanol and the least methanol in the mix.
- Try to minimize skin contact and make sure the room you use it in is ventilated to reduce your exposure to the ketones and other synthetic additives present in the denatured alcohol.
You might think I am being a little extreme, but I would rather err on the side of caution and stay healthy and help you stay healthy, too, than the alternative.
Best Oils for French Polish
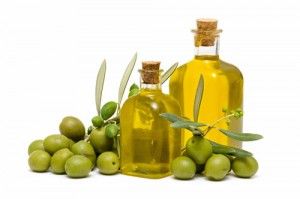
The final essential component in the formula for a beautiful and durable French polish finish is oil. French polishers use many different oils, but the most commonly used oil, based on my experience, is olive oil. The second would be mineral oil, followed by walnut oil.
Different oils bring different properties to the finish during the application and the long-term properties of the finish itself. There are two basic types of oils: drying oils and non-drying oils.
Non-Drying Oils
A non-drying oil will not polymerize and will remain somewhat fluid and continue to migrate indefinitely. Olive oil and mineral oil are in the category of non-drying oils.
The non-drying oils are great for facilitating the application of the shellac with a pad via the French polishing technique. A small amount can be added directly to the pad to increase the lubrication between the pad and the finished surface, enabling the finisher to apply more finish with each session, producing a smoother surface texture and polish.
Drying Oils
The drying oils, such as walnut oil, will fully polymerize and become a permanent part of the shellac finish itself. The function of this type of oil is three-fold:
- Flexibility. To add flexibility to the finish and act as a plasticizer in the formula of our shellac and alcohol mixture. This will help the finish to move with the wood as well and prevent checking.
- Gloss. Increase the gloss of the finish and enable the finisher to get a rich and lustrous sheen that will not dull and flatten like a shellac finish without a drying oil.
- Solvent Resistance. An added bonus of using walnut oil as a plasticizer is that once it fully polymerizes, there will be an increase in solvent resistance, because the polymerized walnut oil component of the finish has no solvent.
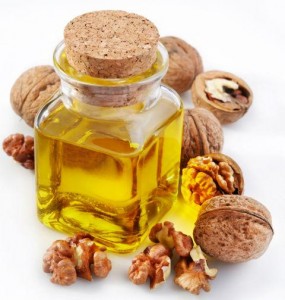
Different finishers have personal preferences in using different oil types, so you’ll need to experiment to determine which oils work the best for your technique and applications. For example, I use both walnut and olive oil in different ways throughout the French polishing process for specific purposes aimed at producing the highest-quality, most beautiful and best-sounding finish possible.
French Polishing Techniques
The traditional technique of French polishing refers to the way the shellac finish is applied to the guitar or woodworking project. This is most commonly done with a cotton cloth, usually with some type of core material inside. The quality of the finish is entirely dependent on the proper technique being used to apply it. It takes years of practice to master this fully, and when approached correctly, it can be an incredibly enriching experience, as it was for me. Mastering the French polishing technique forces one to develop control, strength and patience.
The following videos are excerpts from my online French Polishing Course: The Art Of French Polishing. To learn more about this course, CLICK HERE.
How To Make the French Polishing Pad
If you have done much research on French polish with shellac, you may have discovered many different terms used for what I am referring to as the pad. It is sometimes called a rubber, a muneca, or a fad, as well as other terms. I’ll just be referring to it as a pad here in this article. There are also as many ways to make the pad as there are names for it. Probably the most common materials are cotton or linen cloth for the covering, with cheesecloth inside. In the video below, I’ll show you how I was taught to make the pad by Eugene Clark, using cheesecloth. I’ll also be talking about some of the primary and fundamental techniques I use for applying the shellac varnish using the French polishing technique.
Pumice Pore Filling
The traditional method for pore filling when French polishing a guitar or any woodworking project uses a natural material called pumice. There are many other methods that one can use for pore filling, such as epoxy or different types of synthetic pore filling mediums. I prefer the simplicity and natural qualities of the traditional pumice powder (2f pumice is my favorite for pore filling). I have found that once the technique is mastered, it is very fast and easy to do and always has the perfect color match. Watch the video below for a brief introduction to pore filling with pumice.
Many modern French polishers now use an epoxy pore filler such as Z-poxy. I haven’t tried it myself, but I am told the results are great, and it can be easier for a beginner to get good results.
How to French Polish: Basic French Polishing Technique
One of the reasons I love to teach the art of French polishing is that it embodies the heart of the traditional craft of lutherie. Through learning and mastering this technique, the luthier will raise the quality of his or her instruments and the quality of their time in the workshop as they begin to view the work through the unique lens of their newly acquired skill set and sensitivities.
When I learned this ancient art from my teacher, it not only helped me to make my guitars sound noticeably better and look more beautiful, but it also raised my awareness of my body as it pertains to my technique in all the tasks that I perform as I create my guitars. Thus, mastering the art of French polishing involves mastering your body and mind and spills over into every area of your life.
Looking back, I can say that mastering the French polish technique was one of the hardest things I have ever done and one of the most beneficial, enriching and rewarding. The quiet hours I spend each day French polishing are like my meditation and provide some of the richest and most personally satisfying parts of my day.
Still Have Question or Need More Help?
I hope you enjoyed this detailed guide to French Polishing and that it helps you get better results on your next woodworking or guitar-making project. If you need more help with French Polish finishing you can check out the video below for a great way to learn the art of French polishing.
Learn More About The Art Of French Polishing Course HERE.




Excellent video on French Polish. I have a 1941 0028 G Martin, that a friend left to me before he passed away. I do have a paper bag “somewhere” that has my French-Polish supplies in it. I did not consider him a “Luthier” but, he did make a few guitars in his time. He even left me the supplies to perform quality “French-Polish to my Martin. But I think that I would get more “up-to-date” instruction from a pro such as yourself. I know that my guitar needs a good cleaning before I add any polish to it! My guitar is at a local Luthier for some repair to a tuning key. When I get it back, I plan on working a French -Polish finish on it as its grain is beautifull.
Your results are awesome. I am still working on my first resonator guitar. Many mistakes. I am trying to master French polishing, because I’m convinced it produces the very best finish. That said, I am sadly disappointed with my own results. I can’t quite get the sheen that French polish promises and I can see unfilled pores (even though I started with the West System epoxy), as well as scratches. Can I strip the finish I’ve already applied and start over? Would appreciate a yes or no reply, but a technique would be a bonus.
Hi Jerry, I sent you a reply via email, hope it helps! – Tom