 There are many different options when it comes to choosing the wood purflings and bindings for your next guitar design these days. But if you’re like me, you like to be able to get just the exact types of wood and even orient the grain direction just the right way for optimal shimmer and color to bring your vision to life.
In this article series, I’ll be showing you the materials I use and prefer for my wood guitar purflings. The eBook will go even deeper and guide you through my detailed step by step process for getting just the perfect look and all the important tricks and tips and material sources to make your own unique wood guitar purfling more refined, beautiful, and make the process smoother and easier to integrate into your building system.
Materials and Design
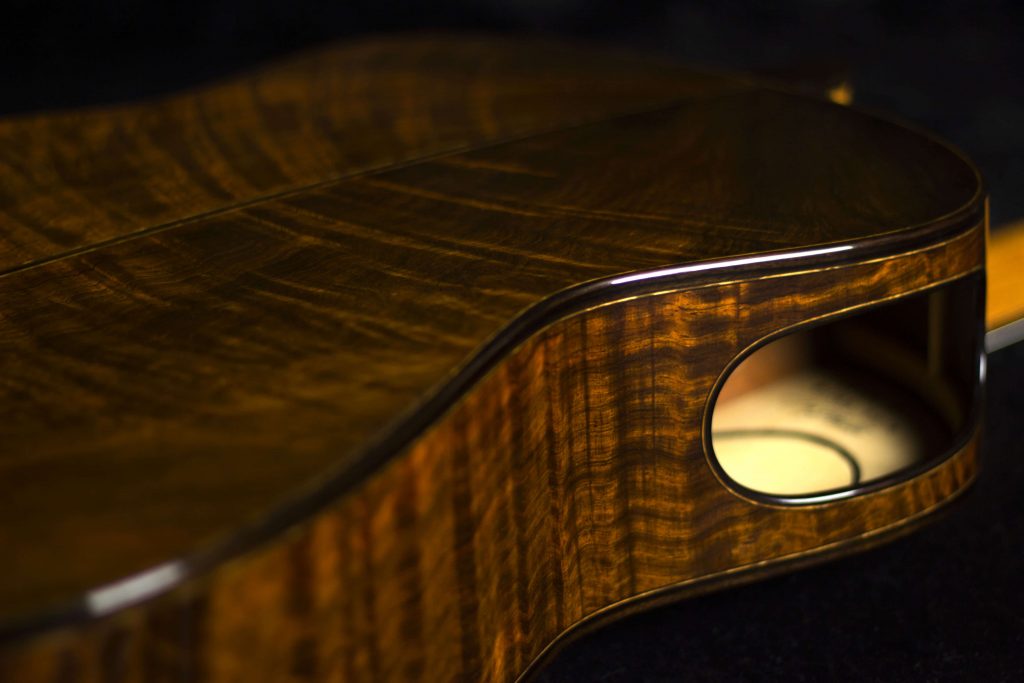 When preparing to make a new set of wood purflings for my guitar, the first thing I do is decide on the materials I want to use to get the look I have in mind. The sizes and wood choices are largely determined by my master plan that was laid out during the design process I go through for each new guitar.
You can learn all about my design process and techniques, and see every step in great detail by checking out my guitar design course. During that process I’m carefully considering what materials will work best with my vision for the design of the guitar, I want to choose materials that will keep the design cohesive and add the subtle refinement that only the purfling can. Let’s take a look at some of the materials I like and commonly use for my wood guitar perflings.
Pre-Made Wood Veneers
Wood veneers for purflings can be purchased pre-cut and thicknessed, and pre-dyed veneers are available in many different woods and colors. You can choose from a variety of colors and thicknesses. Just be sure to buy plain un-backed veneer. I know many wood supply stores also sell to furniture makers and many of their veneers will have some sort of backing on them, so watch out for that.
Most of the time I make my own veneers by re-sawing slices off of larger boards on my band-saw and then thickness sanding them to the right size which I’ll talk more about in a minute.
When I do buy pre-made veneers though, I often buy mine from either LMI or Constantine’s, but there are many other places to get them from as well. I like the black .6 mm veneers for LMI, I feel they are stable and the color is penetrated thoroughly through the whole piece which is really important when making purfling strips. I’m picky about what type of black it is and to my eye the LMI veneers seem to be just the right color of black.
Making Your Own Wood Veneers
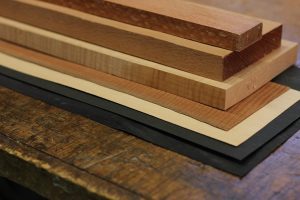 I most often make my own wood veneers for the lighter accent stripe in my purfling designs. I spend the extra time on this for a variety of reasons, but overall I just like the kind of control over the look that it gives me. As an example, one thing I love is to add some subtle flash to the purfling by cutting the wood for the lighter colored strip off of the board in just the right way to maximize the flame, ray fleck, or whatever pattern I’m after.
One wood where the simmer or flame type effect can be really enhanced by cutting it right is Lacewood. The huge medullary rays can be optimized by cutting it just right off the board and then orienting it in my veneer layup so that the edge will show maximum shimmer and ray fleck under the finish. In photos is looks nice, but in person it’s a really elegant touch as the light so subtly dances along those nice crisp thin lines as you move the guitar. (see the photo above for an example lacewood purfling cut in this way)
Wood Fiber Sheets
 There are also different types of wood fiber products that can be a useful tool in making guitar purflings. Most of the time if you buy a pre-made purflings like these BWB strips, then you are using a fiber product already for the black veneers. I first learned about this from Bob Benedetto in his book “Making An Archtop Guitar” where he talks about the use of fiber sheets for his headstocks, but it wasn’t until I went to spend time learning from John Buscarino at his shop back in the early 2000’s that I realized how useful the fiber sheets could be.
John showed me many great uses for the fiber sheets. It is made of wood fibers almost like paper but far tougher and stronger. It has many uses in manufacturing for a multitude of products like washers, gaskets, gears, handles, laminated in wood products like skateboards for extra strength, laminating and stabilizing wood veneers, and on and on…
I like to use it for the black lines in my purflings because it bends so smoothly in tight places like cutaways for example. It is very dimensionally stable (doesn’t shrink and show under a finish over time) and it has a very clean and crisp look to it. Not all fiber sheets are created equal though. On several occasions I bought some that had a gray filler in the center of the sheet which was visible when I sanded it on an angle. Now I check each batch that I get to be sure it’s black all the way though, so be sure to check it and test it a little before you use it. If you just want to try a few pieces of fiber you can buy them from LMI here: Fiber Sheets . I’ll share my suppliers that I buy it from in bulk in the downloadable ebook that also contains the full step by step tutorial.
Design Considerations
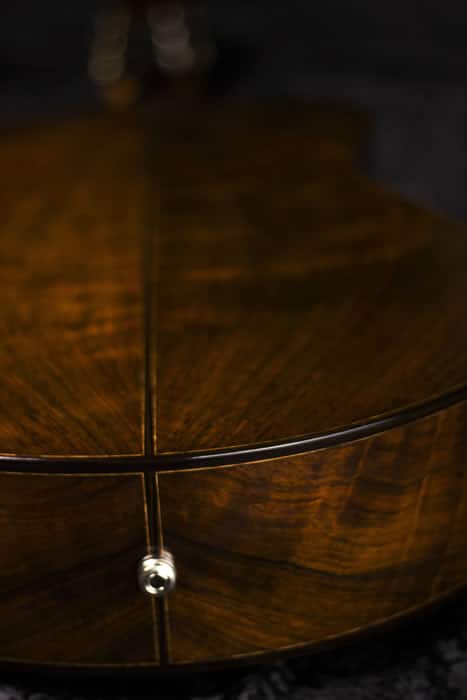 I like to keep my veneer layups fairly simple. I don’t usually do more than a stack of 4 just so it will bend well and be flexible enough to work with, and not look overly busy. I also like to keep my veneer thickness accurate to stay within my rules I set for myself, making sure the veneers are a multiple of my master dimension for this design, for more info on that click here.
I want to be sure the woods I choose for the purfling work well with the color palette established by the top, back, and sides, and other decorative elements. But it is more than just matching colors, I feel they must either blend in a very subtle way or standing out in a bold contrast. I want to be sure I know which effect I want to create and do it intentionally for maximum effect.
Taking the time to make your own wood purfling and getting the fine details just right, like grain orientation, wood color, etc., can be very rewarding. It can transform your purflings into one more tool in your artist’s palette which you can use to enrich your design in a harmonious and cohesive way, and give your guitar a subtle element of refinement and overall elegance.
Making Your Own Guitar Purfling Part 2
In the next part of this series I’ll be getting into how I prepare the veneers for accurate gluing and how I make choices on the woods I use and why I like to cut and make my own veneers to control the grain direction and shimmer effect for each guitar design. To View Part 2 of this series Click Here
Get Part 1 & 2 Of This Series, Plus The Step By Step Tutorial
Get The Full Article, Step By Step Tutorial, & Important Tips
Make your next guitar more refined, elegant, and unique. Learn how to make your own custom wood guitar purfling in this 44 page eBook & Step By Step Tutorial
- Special Materials & Sources
- Special Adhesives
- Tips for Cutting Purfling
- Gluing Cauls and Techniques
- And Much More










Trackbacks/Pingbacks