
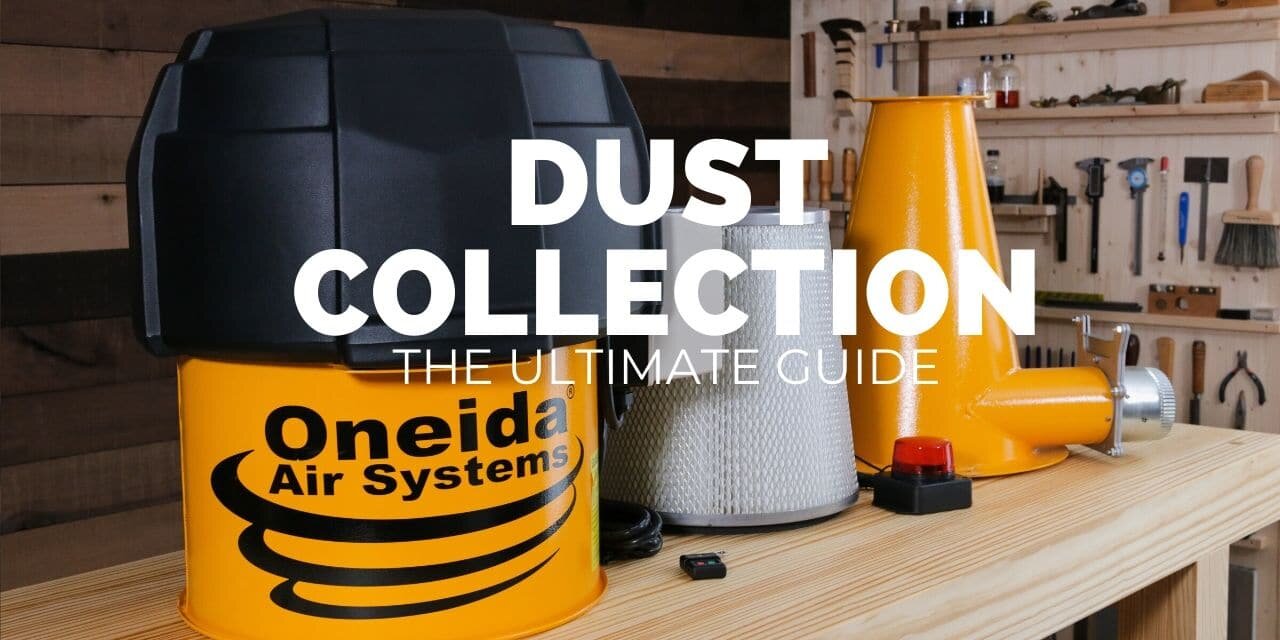
The best dust collection for a small shop is not the biggest, most powerful collector you can buy. It is a well-designed system: a two-stage setup with a cyclone separator, a one-micron filter, and short, direct runs, so the suction actually reaches the tool instead of getting lost in the ductwork. Design that well and a modest collector will outperform a big one on a badly built system. That is exactly what happened to me. Then, if your work and budget call for it, real power and features (like a HEPA-filtered Oneida Supercell) buy you whole-shop flexibility and a level of protection worth paying for. This guide walks through how to choose, how to design the system, and two complete setups I built and used in my own shop, one for well under $1,000 and one built for ultimate performance.
In this guide, we will look at dust collection as a system. We will then discuss each individual component and how it can help or hurt overall performance. Then we will talk about what to consider as you work toward the best design for your specific needs. I will also show you two videos of two different systems I set up and used here in my workshop. Video 1 shows a low cost dust collector system with great performance that I used for over a year. Video 2 shows the ultimate small dust collector system, which is what I am currently using.
Which Dust Collection Setup Is Right for You?
Good, better, and the part everyone forgets.
If you want the short version before the deep dive, here is how I would point you. Think of it as good, better, and a note on the part everyone forgets:
- Start here (great on a budget): a small two-stage system. My build was the Rockler Dust Right wall mount, an Oneida Super Dust Deputy cyclone, and a one-micron filter. Well under $1,000, filters to one micron, and it had more suction at the machine than the much bigger collector I ran for fifteen years.
- Step up when you can (the best): the Oneida Supercell. Five horsepower in a smaller footprint than my little Rockler, HEPA filtration, a remote, and enough static pressure that it doubles as a whole-shop vacuum. It needs 230v power and it is not cheap, but for the right shop it is worth every penny.
- Don’t forget the bench: a lot of a luthier’s most dangerous dust comes from hand work, not machines. Point-of-use capture at the bench, an air cleaner, and a good mask cover what the machine collection misses. More on that below.
The rest of this guide is how to actually decide between them, and how to design whichever you choose so it performs.
Dust Collection & Your Health
When I first started out as a luthier, the topics of dust collection and dust collectors were not even on my radar. I was focused on being the best luthier I could be and trying diligently to make my first few guitars as good as they possibly could be. I wish I had known more about the effects of dust on my health and had focused more on keeping my workshop clean.
It is funny how, after many years of experience, the things I came to regard as important are things I did not even give a second thought to as a beginner. Dust collection is one of those things. Before I get into the specifics of setting up a dust collector system and choosing the best dust collectors, tubing, gates, and fittings, I think it is vitally important to take a moment to look deeper at why this is such a big deal.
The choices we make in this area can literally be life or death, not only for us but for the people around us, including the other members of our family if we have a home workshop. Somewhere along the way I stopped thinking of dust collection as equipment and started seeing it for what it really is, which is caring for the maker. The most important instrument in your shop is not the collector or the bandsaw. It is you.
The Dangers of Wood Dust
When we do woodworking, we produce different sizes of wood chips and dust particles, both of which we can collect with our dust collectors. However, studies have shown that the fine dust, which in many cases we cannot even see, is the most damaging to our bodies. Known as “inhalable dust,” it is made up of microscopic particles that contain a very high percentage of silica, the main component of wood fibers. Silica is basically glass. You do not want it to embed itself deep in your respiratory system.
According to Bill Pentz of Cyclone and Dust Collection Research, “Most small shop workers get more fine dust exposure in a few hours woodworking than large facility workers get in months of full-time work and we frequently work more toxic woods, so have higher more dangerous toxic chemical exposures.” That is undoubtedly true for luthiers and the woods we work with.
When I first read that Bill Pentz quote, I was shocked. I always told myself that I really do not make that many guitars and I do not use that much wood, so I am not at risk, but it looks like I was very wrong. This quote from a study on Cyclone and Dust Collection Research‘s website really drives the point home: the “insurance data on large facility woodworkers showed … almost all lose about 1% of their respiratory capacity per year of work, and woodworkers have shorter life spans.”
If that is not a wakeup call, I do not know what is.
But you are in the right place. Let’s get our dust collection systems right, and make it our first priority to ensure our health and the health of those nearest and dearest to us.
Dust Collection Fundamentals
If you are a member of my online luthier school and have taken any of my luthier courses, you will already know that I am big on what I call “systematic thinking.” I experienced a quantum leap in the quality of my guitars once I had the epiphany that the guitar is an integrated system. No one part functions independently. All components work together as a whole.
In other words, I advocate for a holistic approach to guitar design.
We will be more effective if we apply the same approach to dust collection. It is the same systematic way of thinking I teach for building the guitar itself.
A guitar rings true when every part works together as one resonant whole, and a shop is no different. A dust collection system performs the same way, when the collector, the cyclone, the filter, and the ducting are all in tune with each other, instead of one loud part trying to make up for the rest. Think of it as a dust collection system, not just a dust collector. First, let’s look at the system requirements and why each component is essential.
Main dust collection system requirements:
It Must Capture All Types of Dust
It must be easy to clean
How many tools will need to run at once?
Consider the size of your workshop
Electrical Requirements
Your Other Unique Needs
Types Of Dust Collectors
1 – The Single-Stage Dust Collector
The single-stage dust collector, like the Shop Fox 1hp for example, is the most common style. This type simply sucks the dust directly into the collection bags. The weave of the bags allows the air to escape and traps most of the dust inside.
Unfortunately, many of the bags filter poorly and lose efficiency quickly. Single-stage collectors that use pleated filters tend to perform better. Pleated filters are much more efficient at removing the more dangerous fine dust. They are easier to keep clean and tend to operate more efficiently.
Another shortfall of many single-stage dust collectors, and I learned this the hard way, is that it draws woodchips and anything else directly into the spinning metal impeller before it goes into the dust bag.
This can damage the impeller if you accidentally suck up something large and hard, like a screw or drill bit. And if the impeller is steel, it could create a spark if it gets hit with another metal object, potentially starting a fire inside the collector. Because the two-stage dust collector is designed to minimize many of the problems associated with the single-stage, it is worth consideration.

2 – The Two-Stage Dust collector
The two-stage dust collector, like the Oneida mini Gorilla for example, uses a primary stage to separate the larger dust from the finer dust with minimal loss of suction. One of the most common ways of accomplishing this, and also my favorite, is cyclonic separation. The cyclone is basically a cone shape, and the air spins inside it like a little tornado. As it swirls, the dust and wood chips slam against the walls, slow down, and drop into a bucket below. In my own testing, that first stage pulls out about 90% of everything that goes into it before the air ever reaches the second stage.
Here is the part I love about it: the cyclone cannot really clog, because there is no filter medium inside it. It is just using centrifugal force. That does two things. It keeps the wood chips, and anything else that accidentally gets sucked up, from hitting the spinning impeller, which reduces the chance of damage or sparks. And because 90% of the dust drops out in the cyclone, your second-stage filter stays far cleaner and keeps working efficiently, since it is only dealing with the last 10%.
That second stage can be a bag filter as mentioned above, but most two-stage systems use a pleated filter design. Some pleated canister filters also have a paddle inside that lets you knock off any dust build-up on the inner surface. Using the paddle regularly maintains proper airflow and filtration with the turn of a handle, without the hassle of disassembling it.

CFM vs. Static Pressure (and Why It Matters)
Before we talk about how much collector you need, it helps to understand the two numbers that describe what a dust collector actually does, because the second one is the key to this whole guide.
CFM (cubic feet per minute) is the volume of air a collector can move. It is the number everybody quotes.
Static pressure is the push behind that air, its ability to keep moving through resistance. And resistance is everywhere in a real system: every foot of hose, every elbow, every blast gate, and the filter itself all fight against the airflow. A collector can have a big CFM rating on paper and still deliver very little at the machine if it does not have the static pressure to overcome all that resistance.
This is why a small, well-designed system can beat a big, poorly designed one, and it is also, as you will see, the single biggest reason the Oneida Supercell is such a standout. Keep both numbers in mind as we go.
How Much Power Do You Really Need?
For obvious reasons, I prefer the two-stage dust collectors, but you have to start where you are. I personally could not afford a two-stage system at first, so I used a single-stage for quite a while. Was it perfect? No way. But it helped with the dust and it helped me get real-world experience. When I was finally able to purchase a two-stage system, I was much better equipped to make more educated choices.
When I started looking for a dust collector for my one-man luthier shop, I came at it with the wrong mindset: “I’m a pro luthier. I need pro-level stuff. The more power the better. 220v, 3Hp, bring it on, baby.” After a lot of soul searching, I realized something that changed how I bought equipment. More power is a great thing if you can get it, but I did not need nearly as much raw suction as I thought, because I had been ignoring the system.
Here is the thing most people miss. In my old shop I had pipes mounted along the walls with a blast gate at every machine. That looks professional, but all that piping and all those blast gates steal a huge amount of your suction. By the time the air reaches the machine, you are working with a fraction of what the collector is actually rated for. The fix is not necessarily a bigger collector. It is a shorter, more direct path from the collector to the tool.
I am not saying power does not matter. It absolutely does. I am saying the system decides how much of that power actually reaches the tool. Get the system right and you can do more with less. Ignore it and even a big machine underperforms. So before you shop for horsepower, design the system. Then buy the right amount of machine for that system, your space, and your budget.
Dust Collection System Design
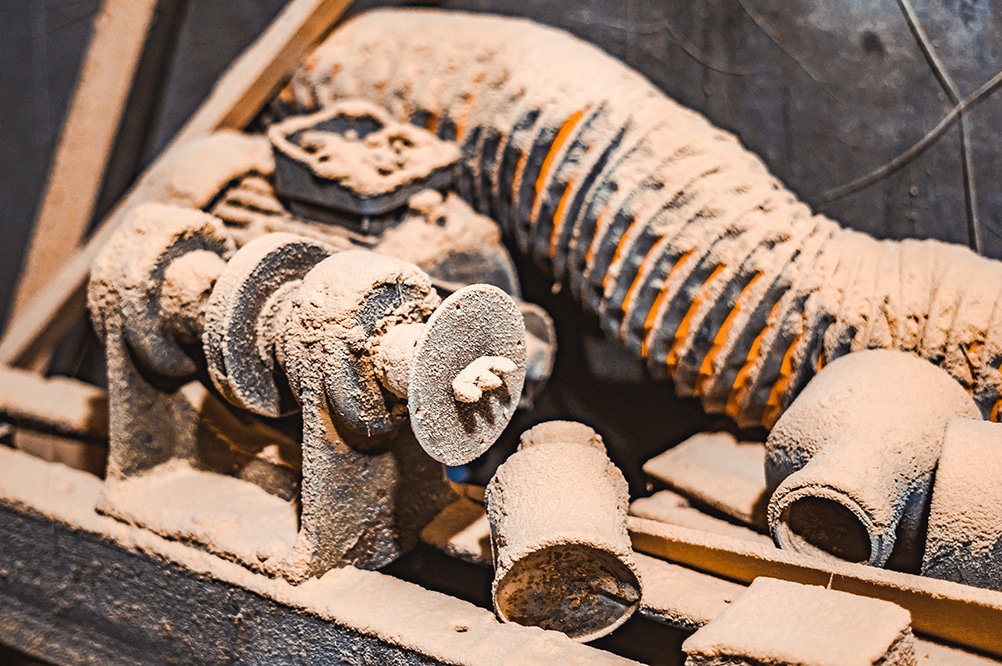
I estimated that because of all the system flaws and issues at each machine, I was probably working with less than half the CFM (cubic feet per minute, the measure of airflow) my dust collector itself was rated for. That is a great illustration of how the system works together to produce the end result. In this case, the system worked as a whole to negatively impact the outcome, and it limited what the more powerful dust collector could do for me.
Now here is the proof that convinced me. In my new shop I went the other direction, with a small 3/4 horsepower collector on a short, direct hose run. My old shop collector was a 2 horsepower machine, nearly three times the power. When I used to really dig into something on the belt sander with that 2 horsepower collector, it could not take all the dust, and I could feel the particles spraying off the front of the belt and hitting my hand. With the little 3/4 horsepower system, I dug in just as hard, and I felt nothing. I did not even see dust in the air. I was genuinely shocked.
This is not a scientific test, it is just my honest experience at the bench, but the little system was doing at least twice as good a job as the machine with nearly three times the horsepower. It verified the whole idea: the efficiency of your system matters at least as much as the power of your collector. To be clear, the little collector is not weak. But the short, direct, well-sealed system let it deliver its power where it counted, while the old system quietly threw most of its power away.
To boil it all down:
Your dust collection performance is not just the amount of CFM or power it has. It is the net result of the whole system.
After a lot of research and brainstorming, I came to the conclusion that I had two main directions I could take:
- Low cost, very good performance
- Higher cost, ultimate performance and features
What ended up happening is that I tried both, and here is what I found out…
Dust Collection System 1 – Rockler Dust Right
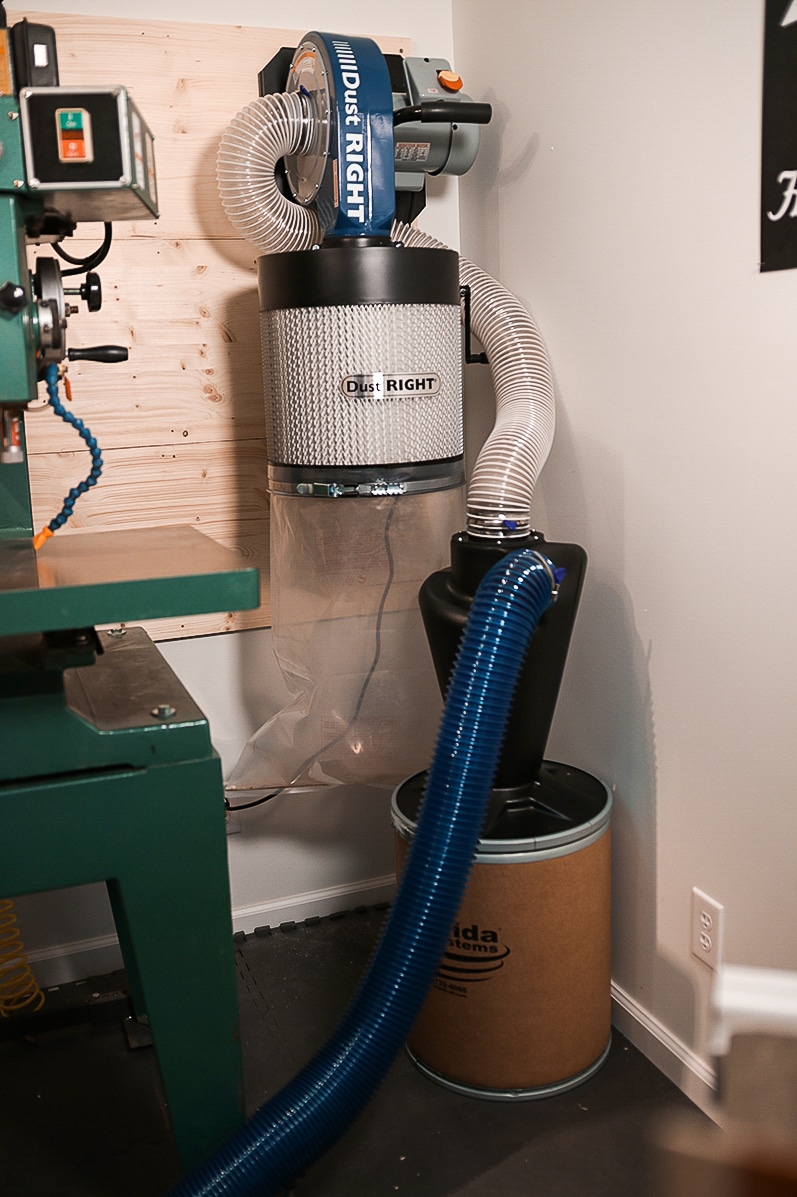
After the wake-up call I experienced regarding the real and present dangers of wood dust, I felt it was of utmost importance to include a canister filter to get the particles down to one micron. I did this by adding the Dust Right canister filter (pictured below), which is part of the Dust Right system. The trick is keeping it clean to maintain efficiency and maximum airflow, which is why I love the handle that turns a flapper inside to knock the dust off the filter with ease.
An honest note on that filter, because I do not want you to overspend. The one-micron canister is a bit of an upgrade, and you do not have to buy it. The bag that comes standard with the collector filters down to three microns, and that is genuinely fine for many people. I ran a 3-micron bag on my much bigger collector for over twenty years and it served me well. I went to the one-micron here because I was deliberately leveling up the health of my new shop. So treat it as a worthwhile upgrade, not a requirement.
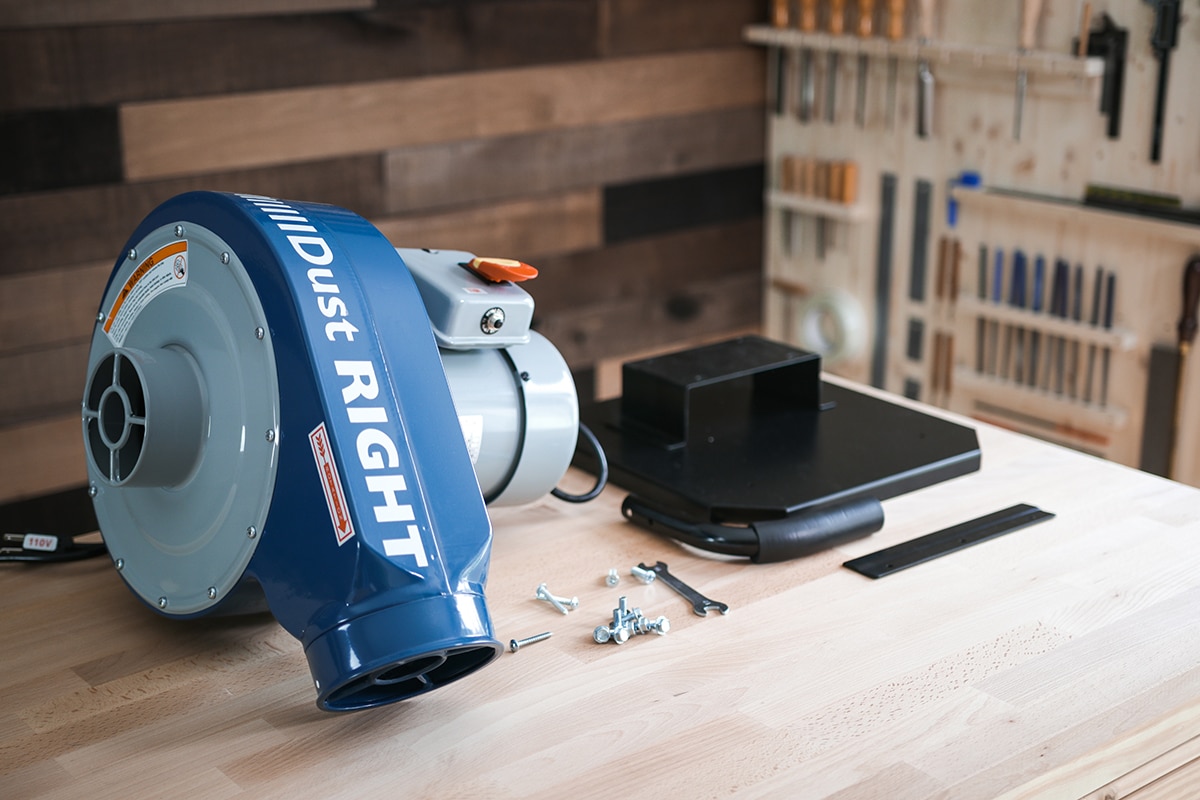
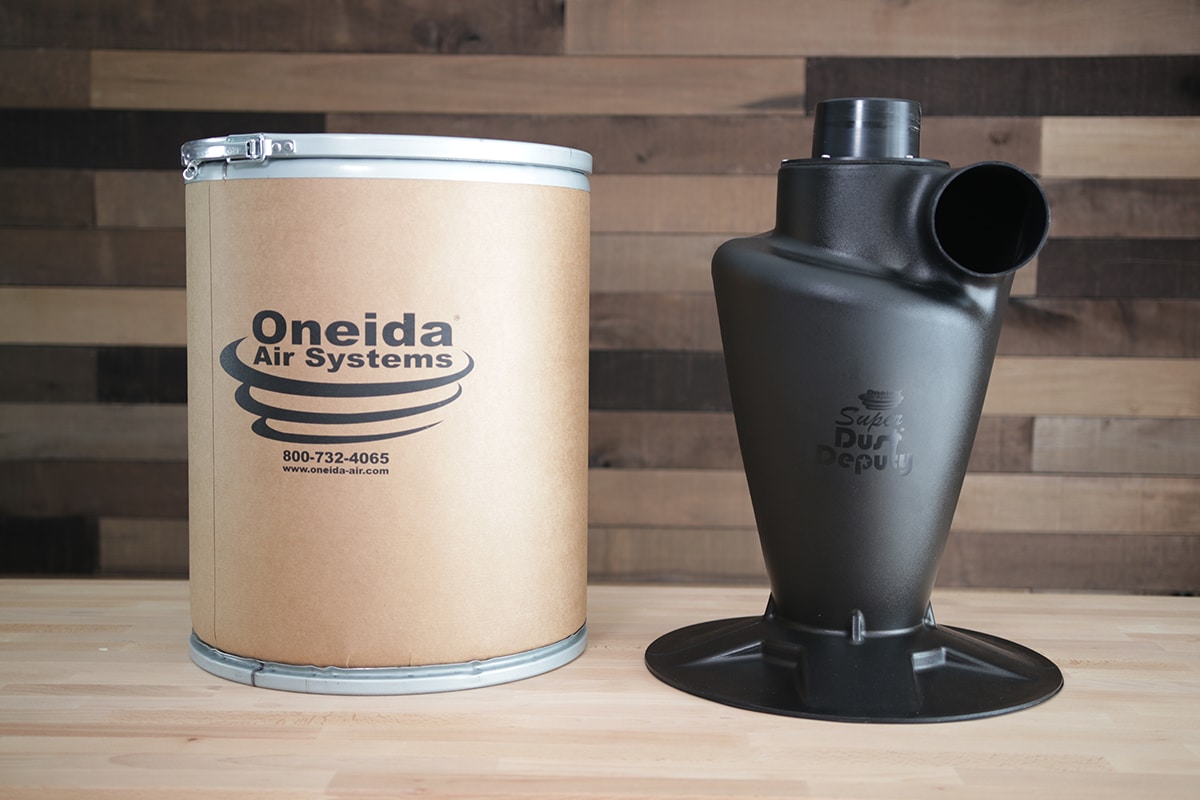
Below are all the parts of this low cost dust collection system. It is perfect for a small tool room, has plenty of power, filters down to one micron, and best of all, the overall cost was well under $1,000. That is pretty cheap for a two-stage system with a cyclone separator.
Here’s the full list of components for this dust collection system I used in my small machine room:
- Dust Collector: Dust Right Wall Mount 3/4 hp 650 CFM
- 1 Micron Filter: Dust Right Canister Filter
- Cyclone Separator: Oneida Super Dust Deputy 4″
- Fittings: Dust Right Quick Connect System 4″
- Hose & Handle: Dust Right Quick Change Handle and Hose 4″
To connect to each machine, I simply plug the hose in using the quick connect fittings and hose handle. Because my machine room is so small, I skipped wall piping and blast gates entirely and just plug the one hose directly into whichever machine I am using. Honestly, plugging in a quick connect is no harder than opening and closing a blast gate, and the gain in efficiency, because there is no long pipe run stealing suction, is really where the magic is. This is the whole system-first idea made real.

Dust Collection System 2 – Oneida Supercell
After using System 1 for about a year, it was time to design System 2, which was to be the ultimate in performance and features and, if possible, still fit my very limited space.
A year or so earlier there really was no compact yet super powerful system to choose from, so I was not sure what I would do. Amazingly, right at that time I received an email from Oneida Air Systems letting me know they had a completely new type of dust collector in development, and wondering if I would test it in exchange for my honest opinion. I took a look and I was blown away. It was smaller than my current system and, at the same time, far more powerful. The system is called the Supercell High-Pressure Dust Collector.
- Dust Collector: Oneida Supercell Dust Collector
- Fittings: Dust Right Quick Connect System 4″
- Hose & Handle: Dust Right Quick Change Handle and Hose 4″
When Do You Actually Need More Power?
- A bigger shop or longer runs. If you cannot keep your runs short and direct, you need the static pressure to push through all that pipe.
- Running more than one machine at once. A one-person shop like mine runs one tool at a time. If you run several, you need the volume and pressure to feed them.
- Big dust producers. Wide-belt and drum sanders, large planers, and similar machines throw enormous amounts of dust and reward more power.
- Poorly ported machines. Some tools have terrible dust ports with big gaps. Raw suction helps overcome bad port design.
- HEPA-level protection. If your health goals call for HEPA filtration, that often comes with the more capable machines.
- One machine for everything. If you want your collector to double as a shop vacuum, you need the high static pressure that makes that possible.
- The features that keep you consistent. Never underestimate this. A remote and an auto-sensing bin light sound like luxuries, but if they make you actually turn the thing on every single time, they protect your health in a way a spec sheet never captures.
Optimizing Your Dust Collection System
Metal Ducts
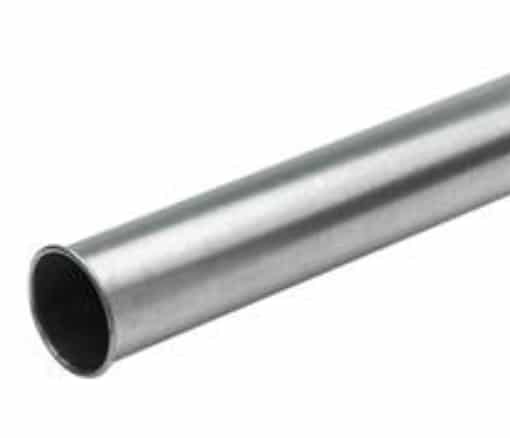
Metal ducts give you the best performance and the least amount of suction, or static pressure (SP), loss per foot. That is a loss of only .07 SP per foot for a 4″ diameter round duct. If you are running your ducts long distances, you will need to invest in metal, or at least PVC, to make sure you retain as much suction as possible at the machine. Metal ducts are also much easier to ground electrically, reducing the risk of static charge build-up, which can be a fire hazard. That said, they are more expensive and much harder to install than some of the other types.
Flexible Hose
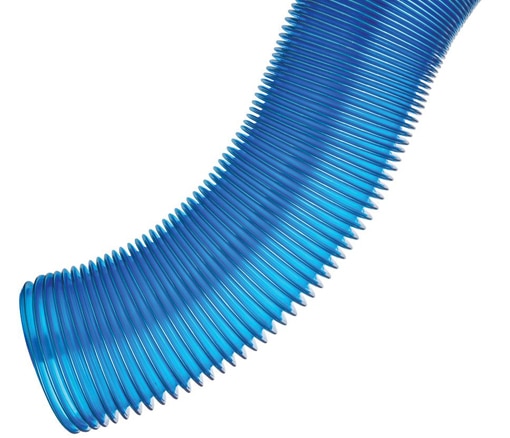
A flexible hose will result in an SP loss per foot three times greater than metal pipe. Plastic and flexible hoses also present a potential for static charge build-up, which can be a fire hazard, so you will need to buy a grounding kit. The good thing about the plastic flexible dust collection hoses is that they are cheaper and easier to install than the other types. Regardless of what material or duct style you use, it is best to design your system and the placement of your tools to make your runs as short as possible to minimize suction loss and cost.
PVC Sewer Pipe
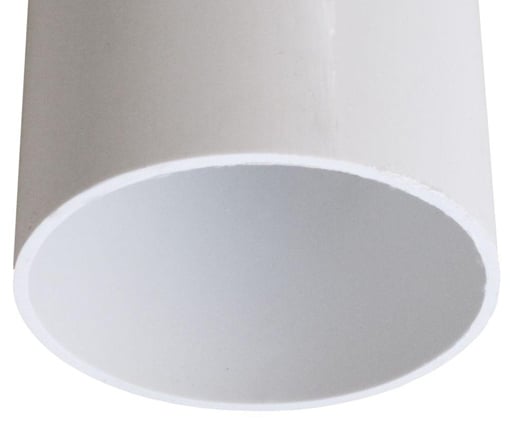
The PVC option can be great for many applications. It carries suction much better than the flexible hoses, costs less than the metal ducts, and fits together easily too. But there are two main challenges with PVC dust collection systems. First, even though they have a 4″ diameter, they can sometimes be challenging to connect properly to the 4″ dust collection fittings. If this is the case, you may need a special fitting like this one here. Second is static electricity, which can build up in the PVC pipes. There are solutions for grounding it, like this here, but it does take some extra work.
Dust Collection Fittings and Gates

Blast Gates. I learned the hard way that if you buy the cheapest plastic ones, they eventually get clogged with fine dust inside. Because of their design, there is no way to clean them. The result is that they slowly lose their ability to close all the way and gradually lose suction. I broke some of mine trying to find ways to clean those little slots inside. If you can, I recommend going for higher quality metal blast gates. That said, I got quite a few years out of the plastic ones, so if they are all you can afford right now, then go for it. Do not let that stop you. Just remember, we are trying to protect your health, so use what you can and upgrade later.

Since my machine room is so small, I decided not to use any blast gates and simply plug my flexible hose directly into each machine. For this I used the Rockler Dust Right Quick Connect fittings, which were easy to install and have been simple to use.

Beyond the Machine: The Other Layers of Dust Protection
Everything above is about capturing dust at your machines. But if you build guitars, a large share of your most dangerous fine dust never goes near a machine with a 4″ port. It comes from hand work: sanding a top, scraping binding, leveling a fingerboard, prepping a body for finish. That dust goes straight into the air right in front of your face. So I want to add three more layers for you to think about, because real protection is a system too.
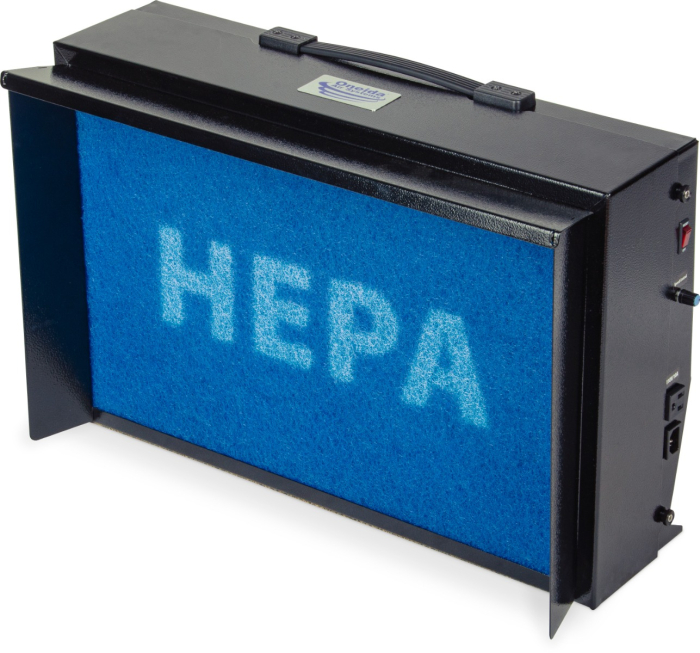
Point-of-use capture at the bench. For hand work, and for small tools that have no real dust port (sanders, rotary tools, scroll saws), a benchtop collector pulls the dust as you make it and gives you a clean zone to breathe in. If you own a high-static-pressure machine like the Supercell, you can already do a version of this by running a small hose off it like a shop vac. If you want a dedicated unit, the one I am most excited about is the Oneida Benchtop Pro HEPA Dust Collector.
It is compact enough to live right on a workbench, has variable-speed HEPA filtration, and is built for exactly the fine bench dust luthiers generate all day long. This is the one I am really excited to test soon. Once I have put it through real shop work, I will add my hands-on review right here.
Ambient air filtration. No collection system catches everything. The finest particles, the ones that hang in the air for hours and do the most damage to your lungs, are best handled by a shop air cleaner running quietly in the background. Think of it as the net that catches whatever escapes the machines and the bench.
Personal protection. Even with great collection and filtration, a good mask or respirator is your last line of defense, especially with the toxic tonewoods we tend to work. I am putting together a full hands-on guide to the masks and respirators I actually wear and recommend for luthiers, and I will link it here when it is ready.
Put those three together with your machine collection and you have covered every place dust actually reaches you, which for a luthier is the whole point.




This is a great article! I always seem to come back to it while researching. I especially love the graphics!
Since starting my journey in the dust collection, I’m always amazed how much it matters to so many different industries.
-Kaitlyn
I’ve read many articles on dust collection but didn’t find informative like this. It is exactly what I was looking for. Your article’s best part is ‘My New Dust Collection System’ Good attempt to inform something innovative. Thank you.
What a great resource – thanks for taking the time to share your knowledge and experience – it’s made me more focused on updating my system for long term health!