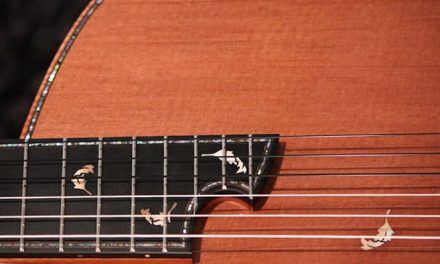
Flawless headstock binding starts with flawless binding channels. This video shows you the simple tips for creating consistently perfect headstock binding channels I use when making my guitars. It specifically addresses one of the most challenging parts of cutting headstock binding channels which is hand-chiseling accurate inside corners. Those inside corners have to be just right to get perfect miter joints in your binding and purfling, but the simple tips in this video can help you get better results more consistently, and I find it more enjoyable too.
Check out the full Headstock Binding Course Here: The Art Of Headstock Binding
Better Guitar Headstock Binding Channels
It might be tempting to make fun of my extreme magnifying glasses, but sometimes they really do help. If you’re not using something like this for close work, I highly recommend you get some, even though you look dorky. That’s a free tip that’s not even involved in this lesson.
But anyway, here we go: I was just here working on the headstock binding channels, and I do my best thinking early in the morning here in the workshop. I’ve just cut the binding channels and I’m cleaning them up with the chisel so I can begin putting in my purfling and my binding strips. There’s a little tip or trick I always do in that process, and I was just thinking about how it helps me do a much more precise job and do it a lot faster when it comes to fine-tuning and adjusting binding channels, especially when what we’re talking about is on the inside corners.
The Key To Perfect Headstock Binding
Perfect Binding Channels & Inside Corners
Here is the problem; when you cut with your router, it can’t go into the inside corners. So your router is going to leave sort of a rounded area there. And in that rounded area—you’ve got to come back with your chisel and get it just right. And if you don’t get it quite perfect, then your binding—the purfling miter joints—won’t line up just right. And other, similar problems.

But if you do this little trick I am going to show you, it really helps—at least it always helps me. I have an entire class on how to bind the headstock called The Art Of Headstock Binding that you can check out for even more detail on how to get your headstock binding consistently perfect. But here in this article, I just wanted to share this one tip because it’s especially useful if you don’t have a lot of experience, and maybe you’re even doing this for the very first time. This simple tip just gives you kind of training wheels so to speak, to help you make sure you get the proportions and all that stuff balanced and beautiful.
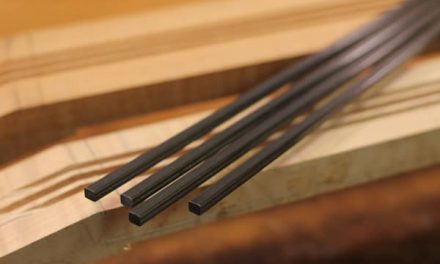
Let me explain what I mean. In order to know where to cut the inside corners of your binding channels, you first need to get the channel in a position where you’re going to be able to see it better. This helps to get a proper feel of the proportions so that when you come back in with a chisel and cut that miter joint, that inside corner, you’ll be more confident and better able to get it perfect so that the final miter joints can also look perfect. That process can get a little tricky sometimes though, especially if you’re not very experienced with this. The trick I use is that I don’t just cut one binding channel for both the perfling and binding. There are two parts to the binding; there’s a thinner purfling, and then there’s the outer wood binding. Now these I show in the video are oversized—they’re kind of big right at this point, but I’ll take them down and bend them and everything before I fit and glue them in place.
But instead of cutting one channel that’s the full thickness of both of these pieces, I cut two different channels at different depths. And just a side note: It also helps to reduce chipping and tear-out and other things that could happen from taking a large chunk out of this headstock all at once, which we don’t want. We want our finished edge where the purfling meets the headstock veneer to be clean and crisp and perfect. So that’s just an added benefit. It helps reduce some of the tear-out, because you’re taking two smaller cuts instead of one giant one.
But the larger point here that I was thinking about and wanted to explain to you is that it’s much easier for me visually to be able to accurately gauge where the point of the inside corner is going to be for the miter joint when I have the two different channels.
My Method For Better Binding Channels & Inside Miter Joints
With Less Chipping & Tearout
I basically began by cutting the outer binding first. I just slowly cut a little at a time and began sort of moving that point of the outer binding miter joint back and forth as I removed a little bit of wood from one side and then a little bit of wood from the other side. I worked until I got that about 90 percent right. I try to get it as close to perfect as I can, I guess you could say. Then once I have that right, it’s easier for me when I begin doing the purfling channel, because my eye isn’t having to gauge such a large distance in ascertaining the proper place for the purfling miter joints.
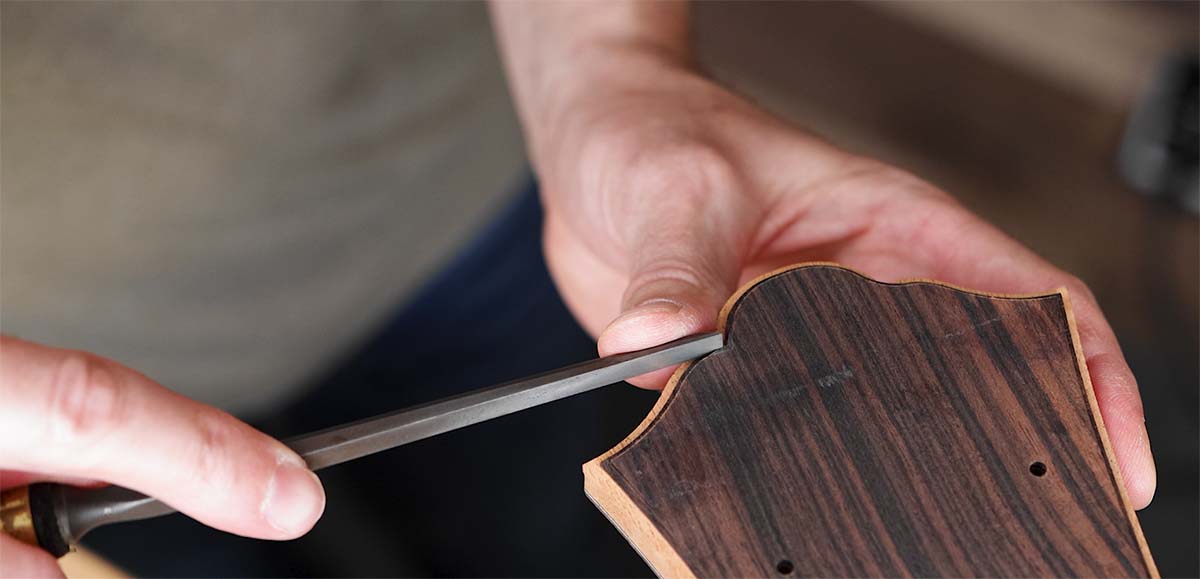
So…the thinner the channel is, the easier it is to sort of gauge its proper curves and if it’s deep enough or not. I can stop and measure with the calipers just to give me a sense of a double-check of what my eye gauged—feedback for what I’m getting just from looking at it.
Once the larger outer binding is done, I go to that inner purfling area, and then it’s just much easier to get that perfect every time. So splitting those two things up—that’s the trick. That’s the thing that makes this easier and helps you get this more precise when you’re doing your headstock binding.
NOT ‘the miserable job of lutherie’
It’s The “ART” Of Lutherie, So Remember To Enjoy It!
Okay, so there you go. That’s the little tip or trick, to cut that binding channel in two different passes. It’s going to help you reduce your chipping and any kind of tear-out AND it’s also going to give you a great advantage when you go to cut and refine the purfling and binding miter joints. And for me, I find it just makes it a little more fun. And that’s important because enjoying the process is part of what makes this the art of lutherie and not the miserable job of lutherie. And enjoying that process, I also find, helps you get a better end-result as well.
So that’s it for this lesson. I hope you did enjoy it and find it helpful. Here’s a link to the headstock binding course in case you want to look at it. Give this video a thumbs up if you liked it. Subscribe if you haven’t, and I’ll see you next time.
Watch The Official Trailer OF The Headstock Binding Course
This course is included when you join The Luthier’s EDGE


