Kerfing Clamps & How To Build Your Best Guitars
What do kerfing clamps and the master key to help you build your best guitar ever have in common? You’ll have to watch the video to find out! 🙂 As I was working with my kerfing/lining clamps the other day I was reminded of the interesting story of how I got them. I instantly knew this was something very important that I needed to share with you. (You can also find the full transcription of the video below for quick reference)
Links I mentioned in the video:
Kerfing Clamps & How To Build Your Best Guitars
(Text Version Below)
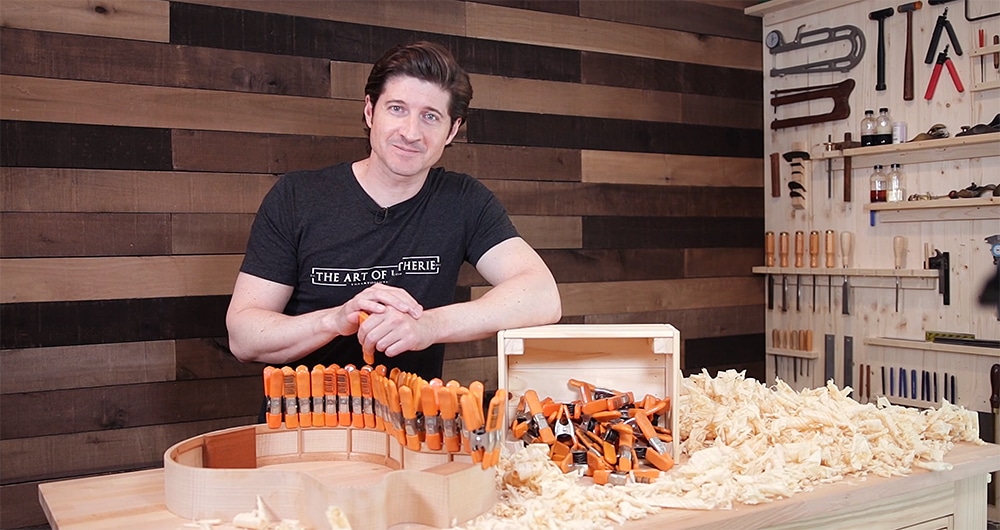 Hey, my name is Tom Bills. Thank you so much for taking the time to check out this video. Just in case we’re meeting for the first time, I’m a professional luthier. I make handmade guitars. I also have the privilege of being able to train other people to make handmade guitars from all over the world through rpd-3f25.ue1.rapydapps.cloud, and my online training courses called The Luthier’s EDGE. I’ll put the link to that stuff below, in case you want to check it out.
Let’s get down to business in this video today. I want to tell you a little about these clamps, but like I had mentioned before, the most important thing is the story of how I got these clamps, because it illustrates a fundamental principle that is really, I could almost say, it’s one of the bedrock principles of how I build my guitars, of how, let’s see, that enabled or empowered me to be able to raise the quality of my guitars exponentially, and really makes life more enjoyable, and it makes the process more creative, too. The life of being a professional luthier, and building guitars in this particular way that I’m going to share with you. It makes it more enjoyable.
What Are Guitar Kerfing & Linings & What’s The Differance?
Okay. What are these clamps, first of all, let’s get a little background to understanding what’s going on here, so the story makes sense. In case you’re new to guitar-making, the inside of the guitar, the sides of guitar, are pieces of wood that are bent into shape. Usually, when I’m building, I have a big heavy mold that goes around the sides that holds that shape in place. I took it off, just so you can see this a little better. Inside, attached to these outer wood parts, is what you see here, these darker colored pieces of wood. Now the clamps are hiding them a little. In my case, these are made out of Spanish cedar. These are called “solid linings.” A lot of guitars have strips of wood with little cuts in it, that makes it easier to bend, and that’s called “kerfing.” Both of those are very commonly used. Both work well in different ways. I like the solid linings, because it creates a more solid, rigid skeletal framework around the sides, which really, when I switched to that, it was a drastic improvement in the quality in the sound of my guitars. The responsiveness, the volume. Just across the board, it was a really big improvement. It really improved some of the building process for me, as well. When I cut my binding channels to inlay the binding, there aren’t little cuts like there would be with kerfing. It’s just a solid, nice, smooth gluing surface to glue that binding in, which is nice.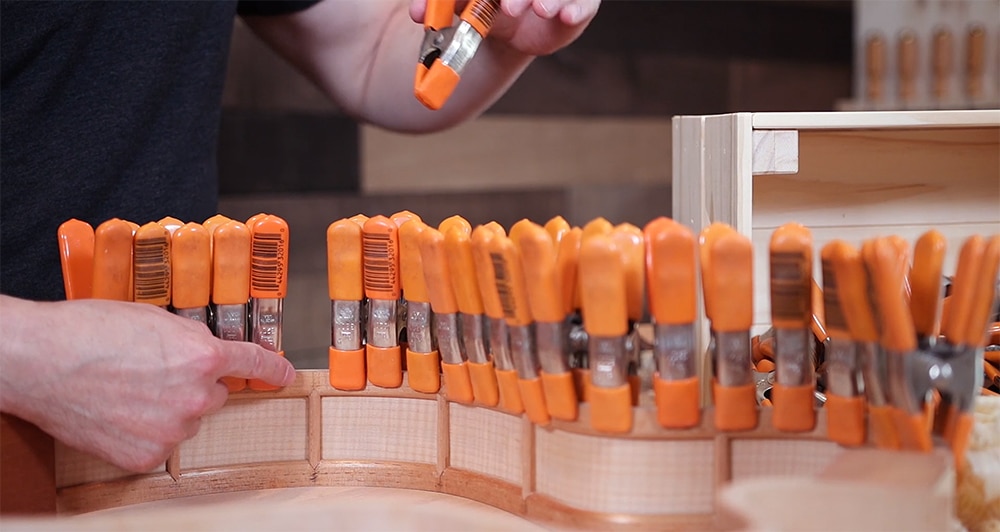 If you’re interested in knowing more about the solid linings, and why they’re important, why they work, why I love them so much, there’s a guide to guitar linings over on rpd-3f25.ue1.rapydapps.cloud. There’s also an even more in-depth version of that guide, it’s really a tutorial, in The Luthier’s EDGE. If you’re a member of The Luthier’s EDGE, you can log in and check that out HERE. It’s really cool. I think you’ll learn a lot of more important fundamentals there, too.
Okay, so we put linings in here. What we do is, after we get the sides of the guitar bent, then we clamp these linings in place while the glue dries. There’s a lot of ways you can do that, but the key is to find which clamps best fit your style, and the way that you build.
Types Of Kerfing & Lining Clamps
When I first started building guitars, I couldn’t afford more expensive clamps like this. I started with a combination of these binder clips and also wooden clothespins. Now, one thing you can do that works fairly well, if you’re using kerfing especially, is to use a wooden clothespin, and wrap some rubber bands around it to give it a little added clamping pressure. That got me through quite a few guitars. Then, at Harbor Freight one day, I discovered these little plastic clamps that you can buy a little pack of these. These are pretty handy little clamps, and I still use these for real tight curves, like up here in the cutaway, they work really well. Because these bigger ones are really powerful, and if you clamp them on a tight curve, they could actually break the side. These little type from Harbor Freight. I think there’s probably places on Amazon, too, that you can get little ones like this. They work great for stuff like that.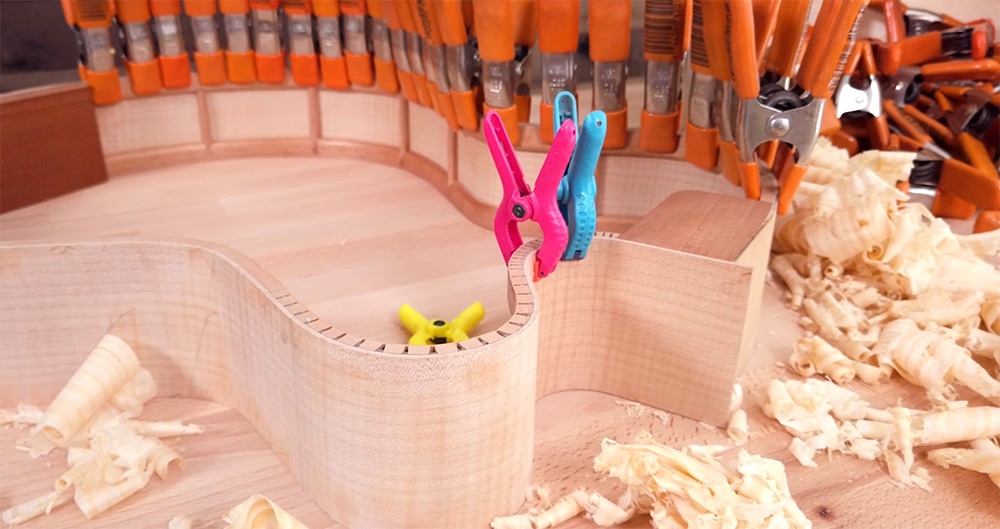 But these clamps right here (the Pony 1″ Spring Clamps) were the ones that I knew were going to help me do my best work, and get the type of clamping pressure that I need for the stiffer and more rigid … This is actually a double-layer, the linings that are in here. It’s actually a double-layer of Spanish cedar, that’s laminated.
When I decided I wanted these clamps, so now that we’ve got a little bit of background, let’s talk about this story that I think is so important. I really do think it could change your life, because when I implemented what this story represents, it really did have a massive, and still has a massive impact on my life, every single day, because I still do what I’m about to tell you.




Thanks for the video Tom. I do like the approach of writing it down and drawing it out. I’m spending more time on hand-built from scratch instruments. Really helpful video.
Best,
Ray
Thanks so much for your Ray, so glad to hear the video was helpful!