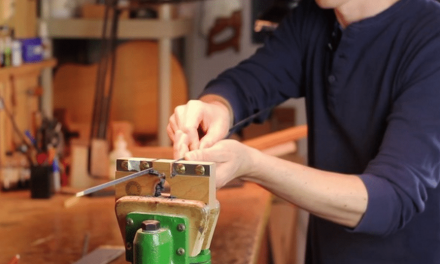
In this article, we’ll be exploring the subtleties of how to optimize the installation of guitar tuning machines, and the benefits and improvements it can make if done properly.
At first glance might seem like an insignificant little detail, but I find that many times, the act of refining even the smallest details of my guitar design can yield big improvements.
A common mistake we’ve all made is to feel that the path to improving our guitars requires monumental tasks like:
- A total redesign of your bracing
- A new body shape
- A radical new bridge design.
But the truth is,
Some of my biggest breakthroughs came from seemingly small details that just needed some fine-tuning, deeper analysis, and creativity applied.
Today, I am going to share one of those small details that made a noticeable difference in the quality of my guitars, so that you can do the same on your next guitar, too.
I call the more advanced version of this technique the T3 Tuning Machine Anchor System.
It sounds fancy, but it’s really based on a simple concept and technique you can use to anchor your tuning machines tightly in place, which results in:
- Better sustain
- Tuning stability
And, if you use the more advanced “T3” version of this, It will also prevent the washers from chipping the finish over time and give your headstock a more elegant and refined look.
As always, let’s start with some foundational concepts.
Foundations, Anchor Points & Levers
When I was making my first guitar, I had a very limited set of tools. Among the many things I didn’t have at the time was the proper-sized drill bit for my tuning machine holes.
The guitar-building resources I could find back then recommended that I make the hole for the tuning machines a little oversized to allow for the lacquer overspray to build up during the finishing process.
This is common in factory guitars to avoid “wasting time” cleaning out the tuner holes during the final assembly and installation of the tuners.
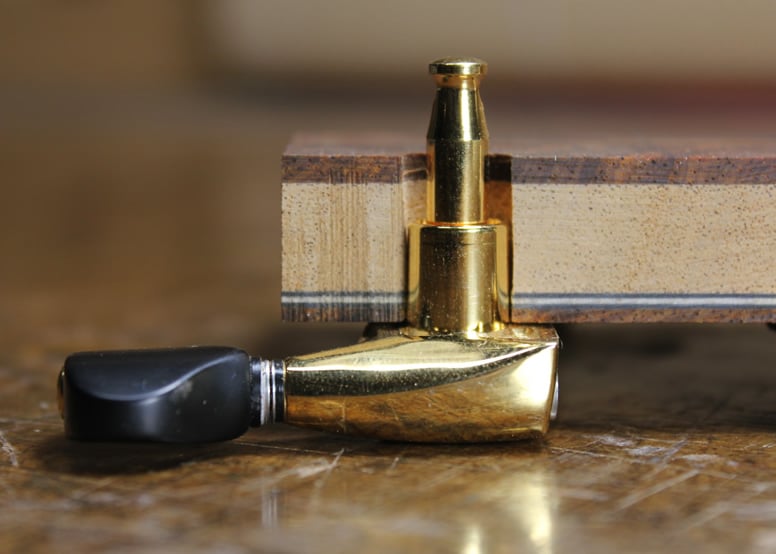
This didn’t seem right to me on an intuitive level even then, but I went along with it since the only drill bit I had was a little big anyway, and it seemed to work fine as far as I could tell.
After I built a few guitars this way and some more time passed, I noticed some chips in the lacquer on the headstock around the edges of the washers used to secure the tuning machines.
I hated that!
At first, it bugged me because of the way it looked, but then I started to think a little bit about what it meant from a functional standpoint.
The fact that the washer moved enough to chip that finish meant that the string tension and vibration were actually producing micro-movements of the tuning post.
That’s a very big deal!
Let me explain why…
Energy Conservation & Tuning Machines
The guitar string has a finite amount of energy loaded into it when plucked, so I don’t want to waste even a single drop.
The best guitars (most sensitive, responsive, dynamic, powerful, etc.) do the best job of getting more of that energy converted into a pleasing audible sound.
If I spend all my time working on the bracing of the guitar and the tuning of the top but overlook the very foundation, the anchor point of the string (the tuner), then I am missing out on a huge opportunity to increase the efficiency of converting that string energy into sound for the other parts of the guitar to utilize.
Imagine if you had a rope tied to a post, and that post was loosely sitting in a hole.
If you were to move the rope up and down to simulate a large-scale version of the guitar string in motion, you can probably imagine that the loose-fitting post would start moving all over and would be leeching a large portion of the energy you were loading into the rope.

If you set that post firmly in concrete and then did the same thing to the rope, you would have a very different result, right?

The same goes for the tuning machine.
After I realized what was going on there, I started drilling my tuning machine holes just a touch on the tight side. Then, I carefully worked the holes a little with some sandpaper or reamer until they fit perfectly and pressed snugly into place.
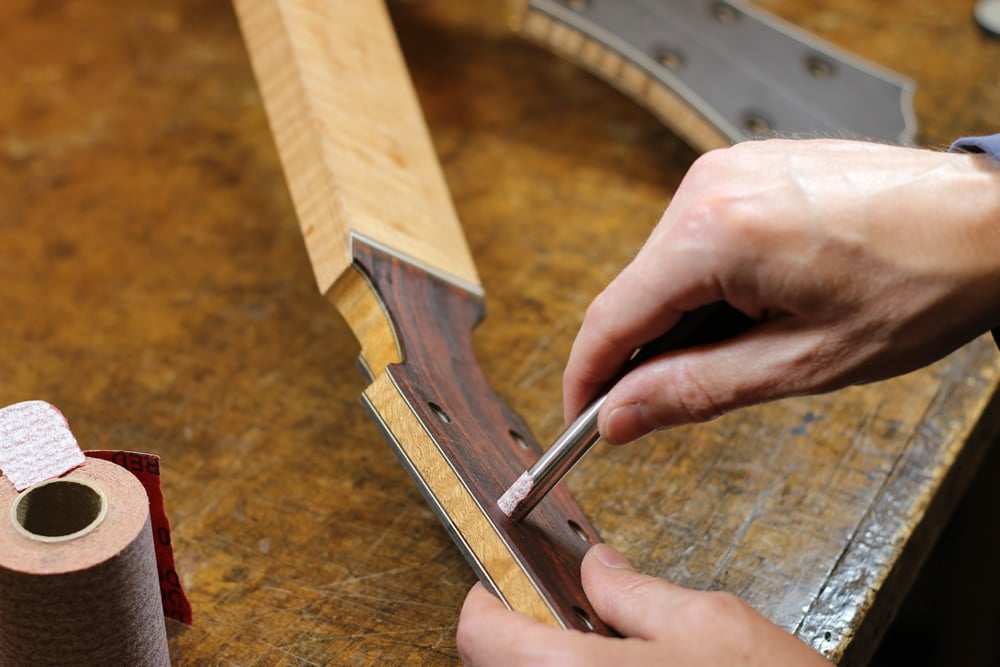
This little design tweak resulted in:
- More sustain
- Better tuning stability
- AND less marking of the finish over time from the washers
You can try this simple change on your next guitar and maybe, more importantly, apply this way of looking at the little details for opportunities that result in big improvements across your whole guitar’s design.
The Next Evolution: Making It Even Better
Little did I know the discoveries and realizations I described above were only the first steps in this journey.
If you’ve been at this for any amount of time, you probably know that the journey never ends 😉
Shortly after those realizations, I took a trip down to South Carolina to spend some time with archtop guitar luthier John Buscarino.
When I was there, John opened my eyes to an even further refinement of this aspect of this tuning machine mounting technique. I took what I learned from him and added an extra touch of my own, as we luthiers always do, and the “T3 Tuning Machine Anchor System” was born.
Not only did this improve my guitar’s sustain and tuning stability to an even higher level, but now I never have to worry again about washers making marks in the finish, and I love the way it looks.
Here’s a side-by-side comparison of the basic version we discussed so far on the left and the more advanced “T3” version on the right:

It’s essentially a series of three different sizes of holes; each one fits perfectly into its corresponding part of the tuning machine.
It might seem a little daunting, but I have a simple and reliable system I use to do this on all my guitars with ease.
I have a complete step-by-step tutorial that guides you through all the tools I use for this and each step of my process (including pitfalls to watch out for).
The T3 tutorial is included along with the 19 other tutorials in the Luthier’s EDGE.
If you’re already a Luthier’s EDGE member, you can log in here to get started on it right now.
If you’re not a member yet, when you’re ready, you can find out all the details about the Luthier’s EDGE here.


