Or Scroll Down To Learn More
How To Build The Essential Workbench
Video Course & Blueprints Included With A Luthier’s EDGE membership
How To Build A Workbench Online Course
Take A Tour Of The Essential Workbench
A walk-through of Tom’s favorite and most used workbench features
The Workbench Is The Heart Of The Workshop
Make It Something Special That Inspires You To Do Your Best Work Everyday
This online video course and detailed blueprints are designed to help you build a split top Roubo style workbench that is perfectly suited to you, your work, and your style. My hope is that it will help you do your best woodworking and will inspire you every time you walk into your workshop.

You will be guided though each step of the process from design, to wood choice and preparation, building and finishing. No detail is left out. (View the course overview HERE)

I didn’t always have a perfectly customized solid and beautiful workbench to work on. I dreamt of building a “REAL” workbench for years, but never took the time to get started…

Workbench Render
When I did finally build my workbench, I spent months in the preparation and design phase to make sure that I had every detail thoroughly thought through and planned out for a smooth building process and a great bench I could enjoy for the rest of my life.

The Roubo style split top design that I created was easy to build and has been incredible for creative and flexible clamping and work holding with ease.

I made this course so that anyone else who was struggling with getting started could have a detailed resource to help them confidently get started and to guide them with highly detailed blueprints and HD videos to take you through every step for start to finish.

I’m looking forward to seeing you in the course and helping you build YOUR dream workbench! – Tom Bills

Course Outline: How To Build A Workbench
workbench design
Introduction & Design
In this section you will learn how to choose the right wood for your workbench as well as which design elements you can customized for your individual needs and requirements and why it is so important to do so.
Wood Prep
Wood Preparation
In this section you will learn about proper storage, relative humidity, wood moisture content and how to cut and plane the wood in various stages to maximize long term stability.
Gluing The Benchtop
Gluing The Benchtop
In this section you will learn about the steps, techniques, and tools to help ensure a successful glue up and glue clean up process for a more stable and beautiful workbench top.
workbench design
Legs & Base Preparation
In this section Tom demonstrates the process of preparing the wood for the workbench base. Everything is covered in detail from the glue-up of the legs to the preparation of the side strings and supports.
Joinery Mortise Tenons
Joinery ( Mortise & Tenons)
With the base components now completed in the last steps, this section covers the tools , jigs and techniques used for creating perfectly fitting floating mortise and tenon joints for long term strength and beauty.
Base Glue Up
Base Assembly & Glue-Up
In this section Tom walks you step by step through the process of gluing the bass parts together for a solid strong workbench foundation with clean and precise fitting joints.
workbench design
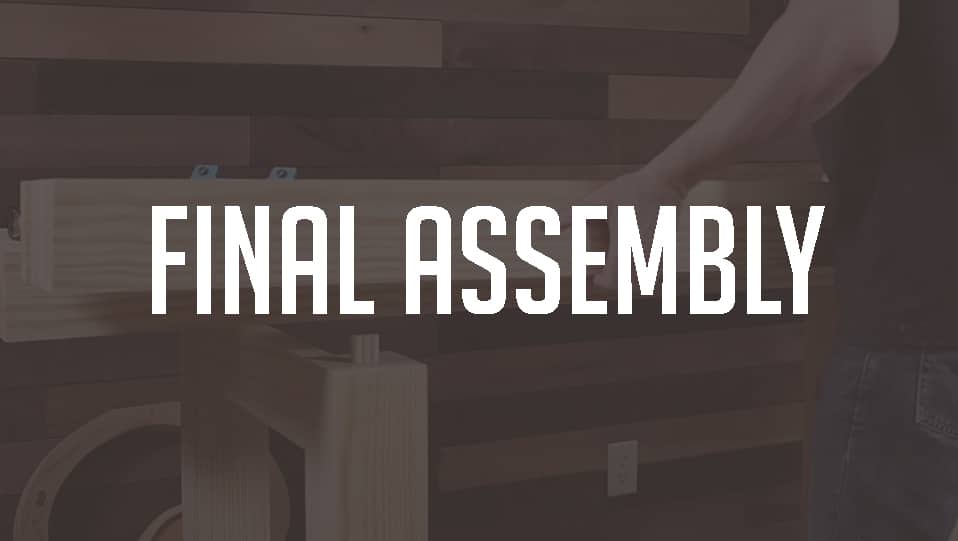
Final Assembly & Planing
In this section you will learn Toms techniques and methods for accurately attaching the Workbench tops To the Base. Then He will demonstrate the steps to level and square the top and sides surfaces of the workbench using a hand plane.
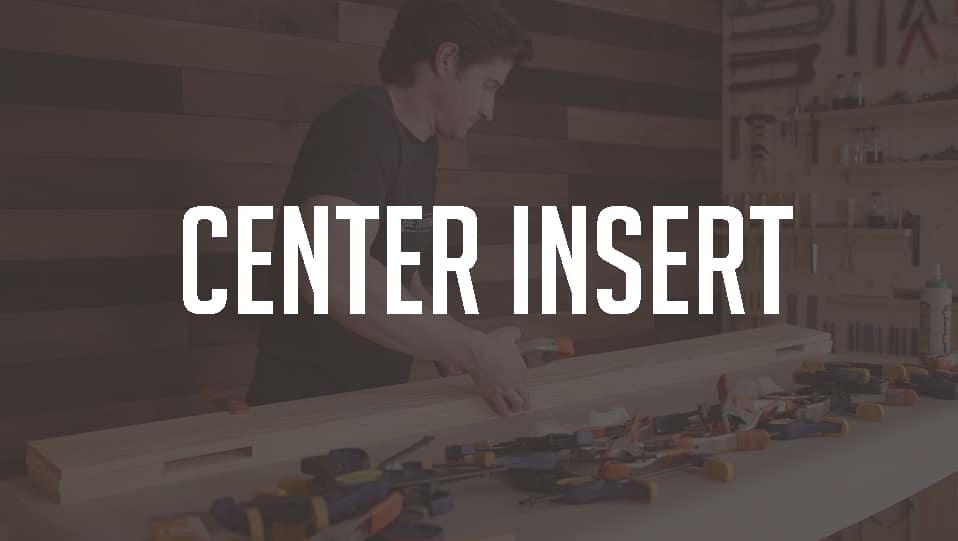
Center Insert
Making The Center Insert
Since this is a split top Roubo style workbench the next step you will learn is how to build and accurately fit the center insert for the benchtop which also includes a tool holder and doubles as a plane stop.
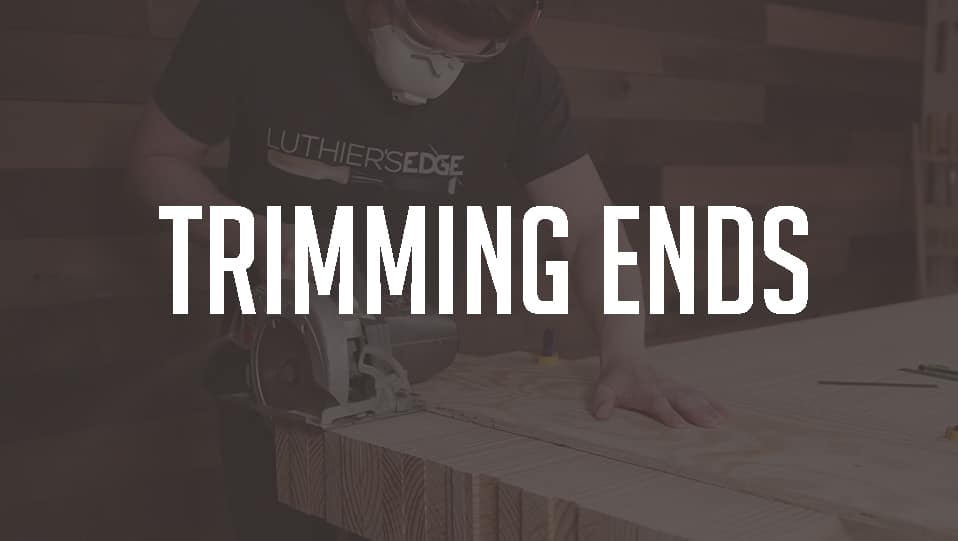
Trimming Sanding
Trimming & Sanding Ends
Trimming the ends of the workbench works best with a few important tricks that you will learn in this section as Tom demonstrates the cutting, sanding and squaring of the workbench top.
workbench design
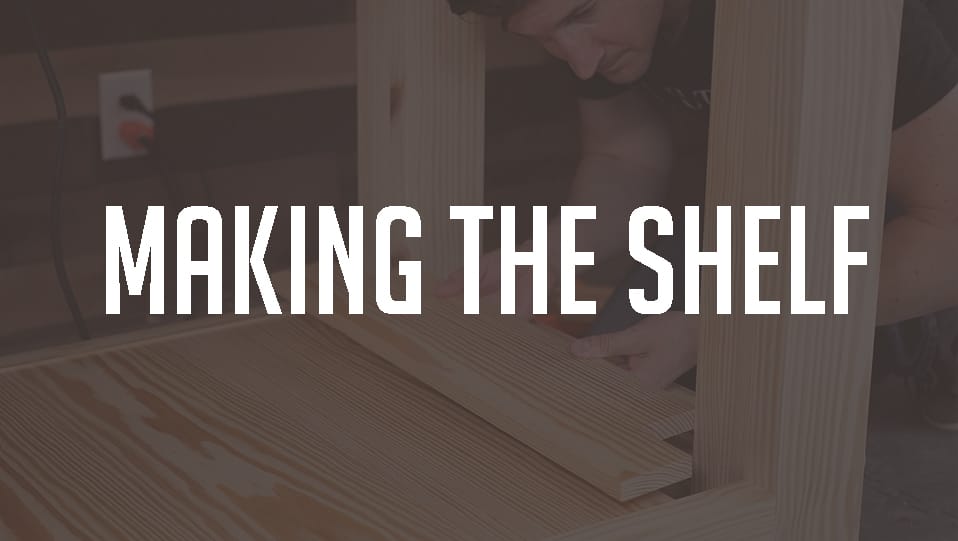
Making The Lower Shelf
Next you will learn the preferred methods for adding a wooden lower shelf to the workbench’s base to make use of that continent storage space for your most used tools.
Drilling Dog Holes
Drilling Dog Holes
The process of drilling dog holes (for bench dogs) into the new workbench can be a little nerve wracking and can lead to big mistakes if you don;t have the right approach. In this section you will learn about the jigs and tools Tom used to drill precise and cleanly drilled dog holes.
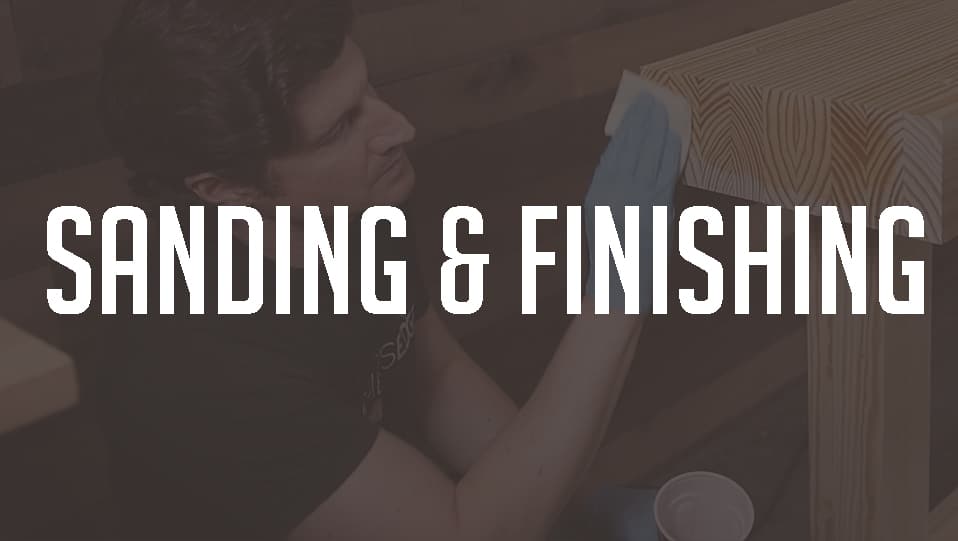
Sanding Finishing
Sanding & Finishing
In this last section you will be taken step by step though the very important final sanding and finishing process for your new workbench. You will learn about stages of sanding, choosing the best finish, and finish application.

Ready To Build Your Dream Workbench?

Click below to join and enroll in this course
Step By Step Instructions From Start To Finish
step 1
step 2
step 3
Videos Designed For Convenience & Easy Reference
Videos are delivered via our premium online streaming service in HD quality.

Videos are broken into short bite-sized pieces for better retention of material, more convenient viewing and to assist in easier future reference.

No need to scrub though long videos, with just a couple of clicks you can find just the information you need and get back splitting the braces by hand for your next guitar.

Blueprint Download

Links To Tools & Materials

48 HD Quality Videos

guitar luthier school online
Start Building Your Dream Workbench Today!

How To Build The Essential Workbench

Pin It on Pinterest

Shares